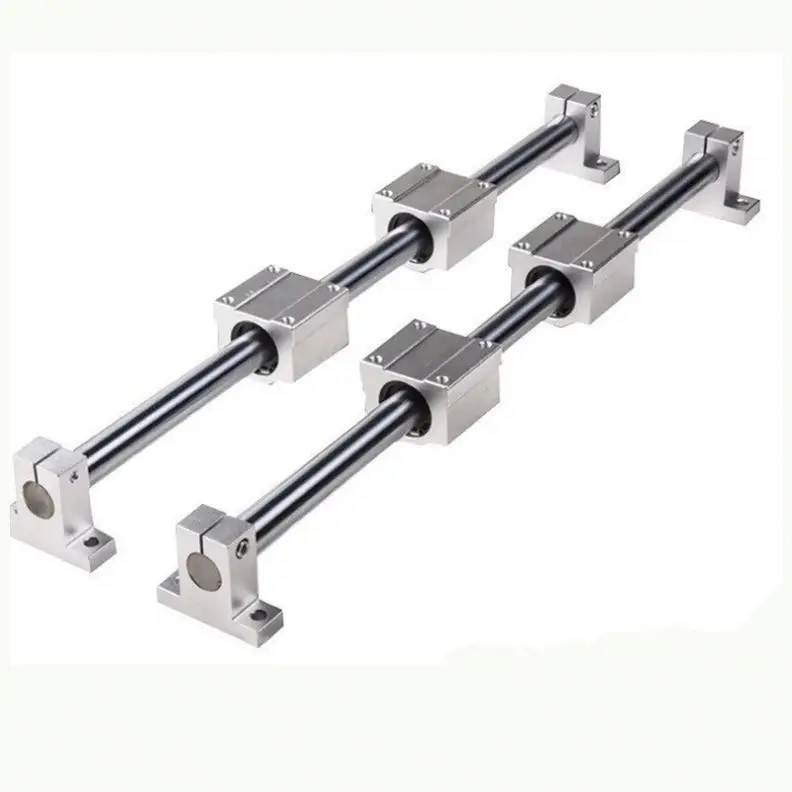
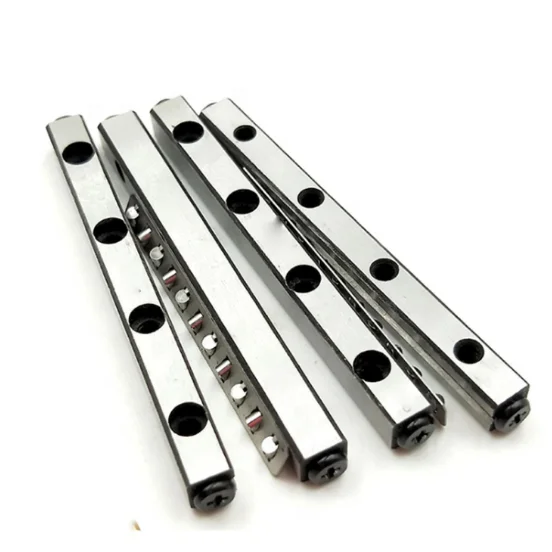
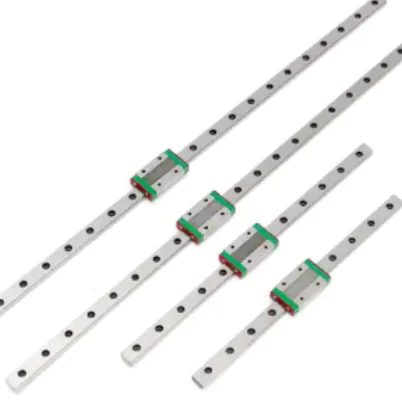
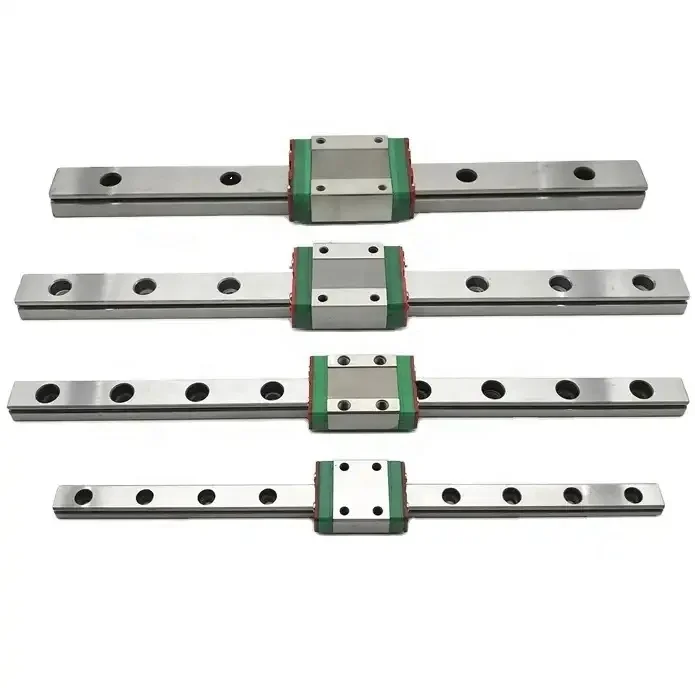
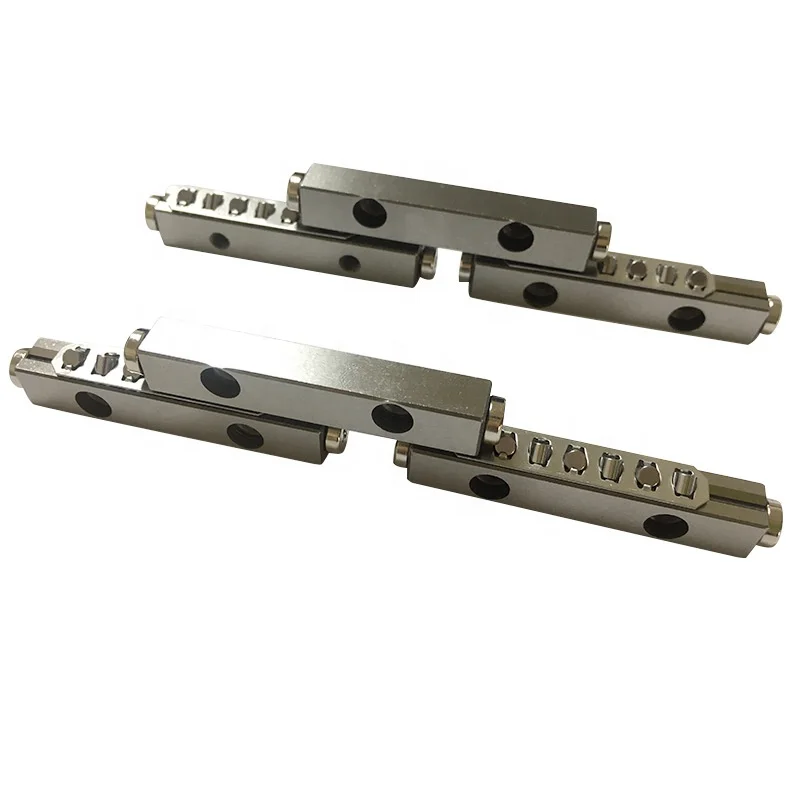
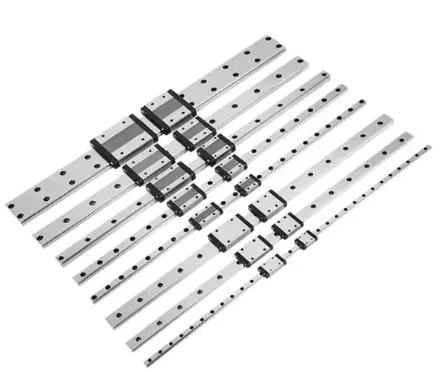
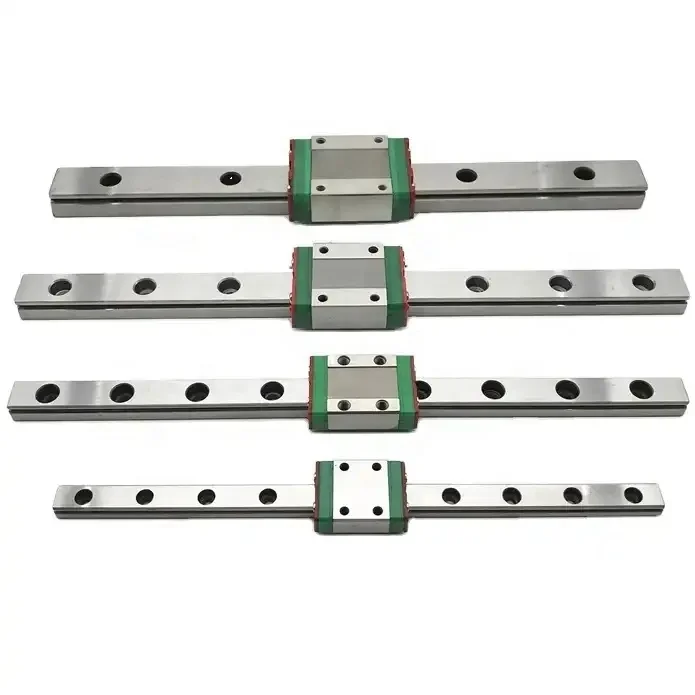
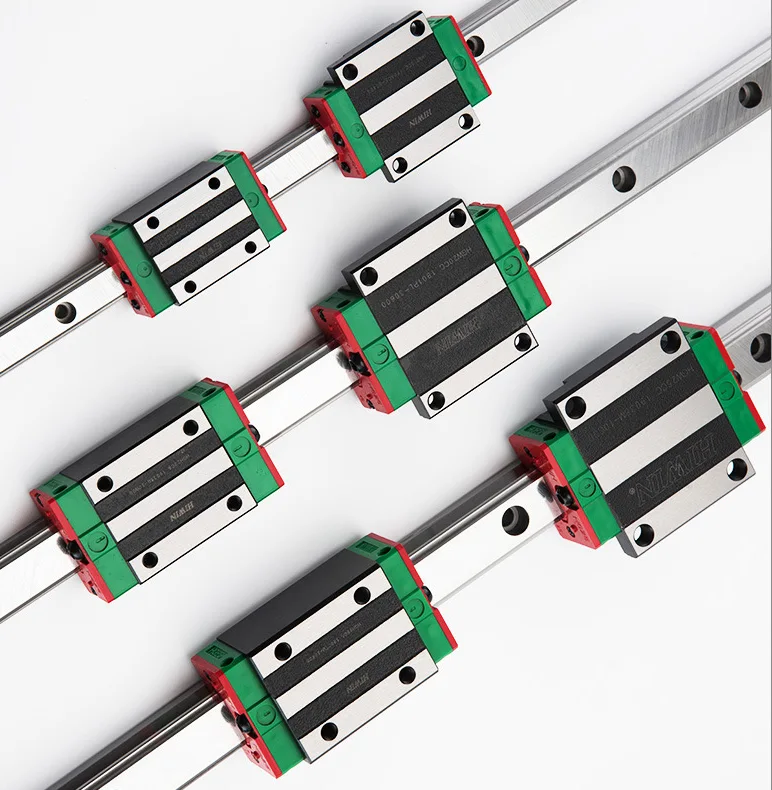
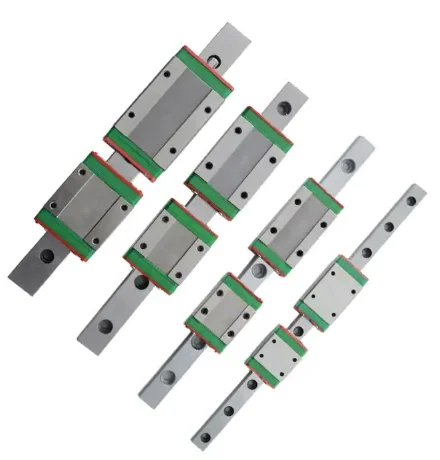
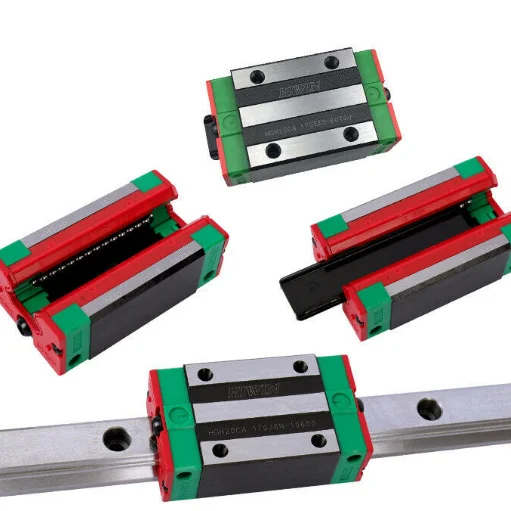
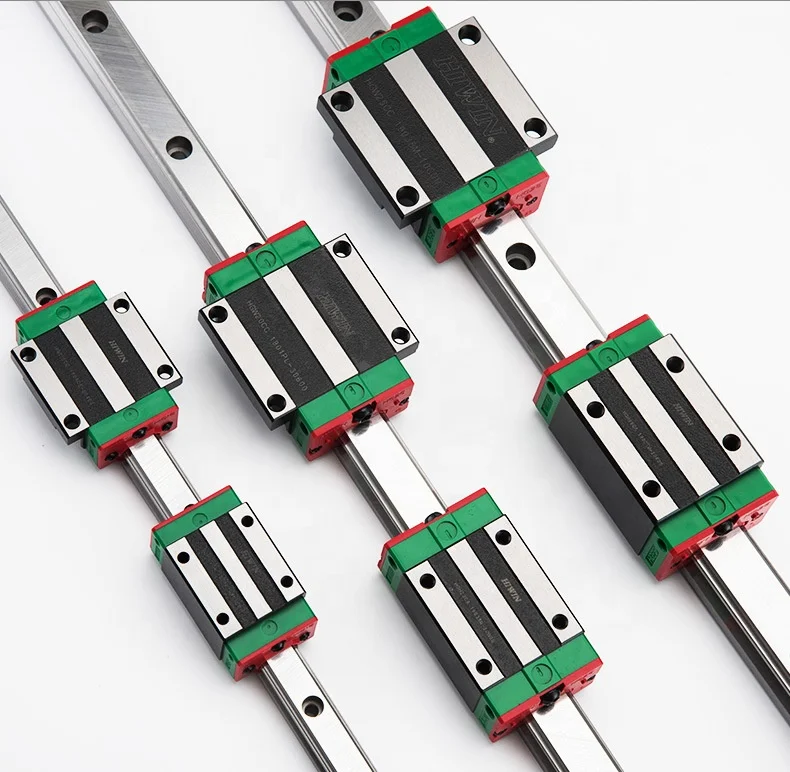
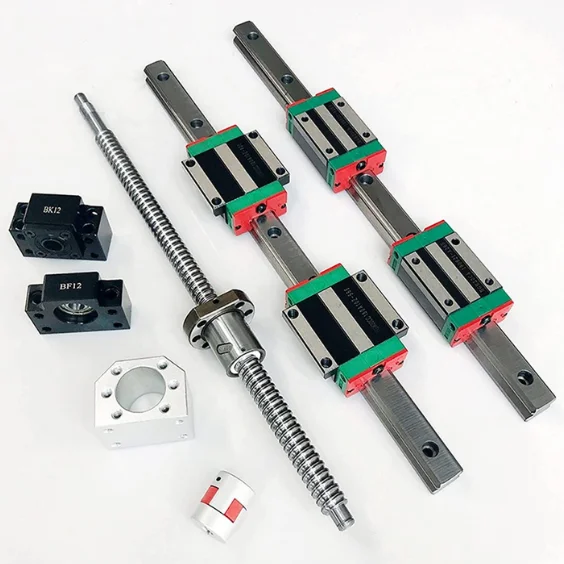
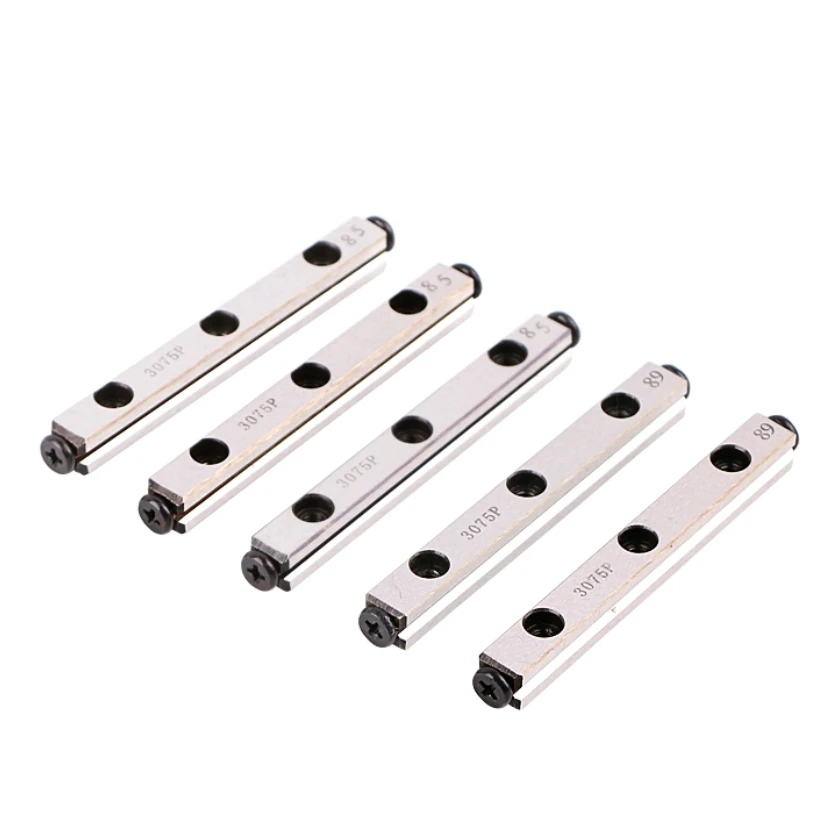
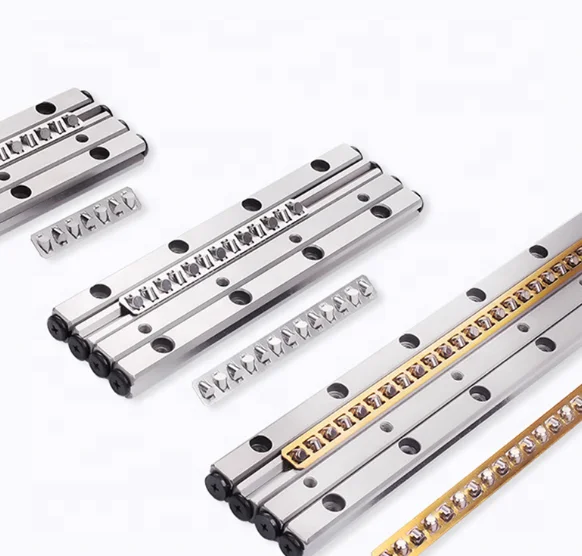
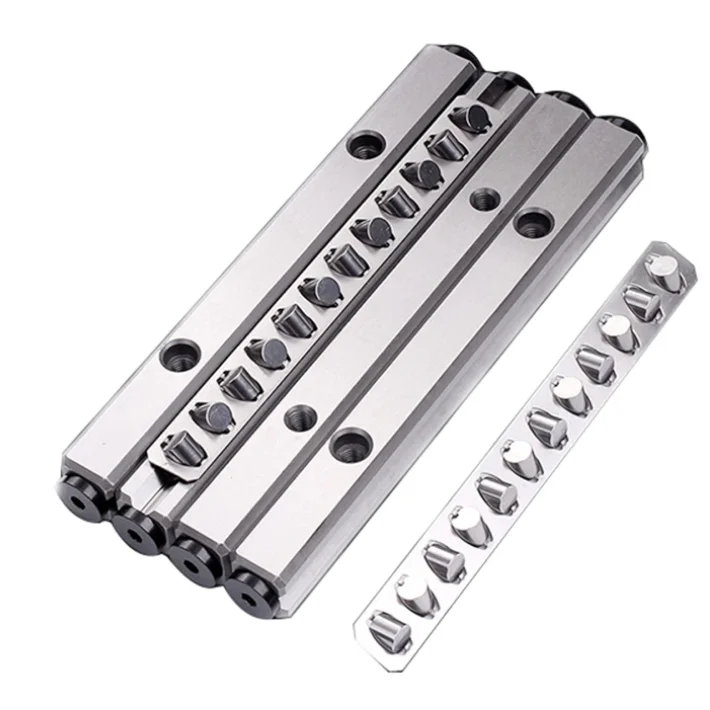
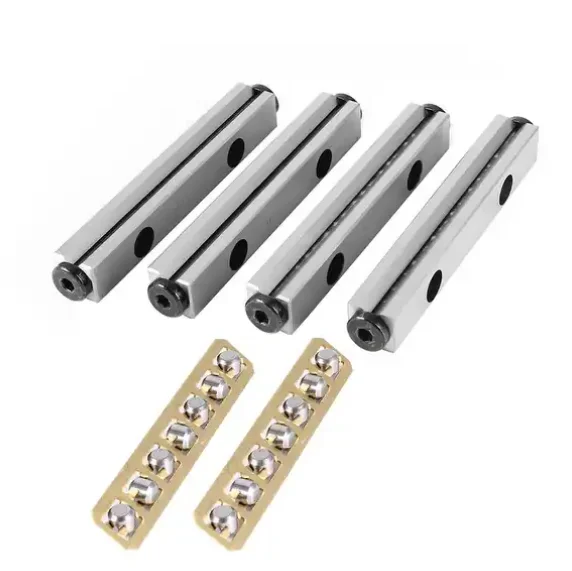
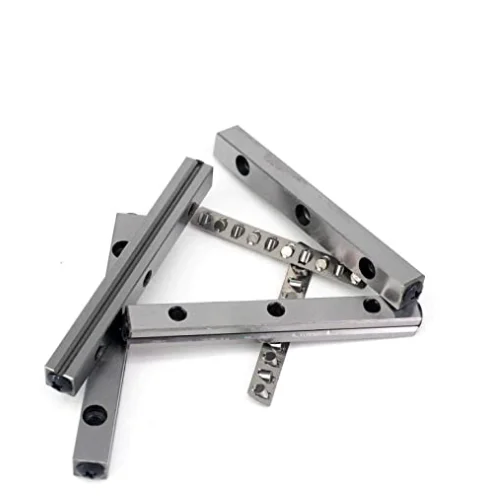
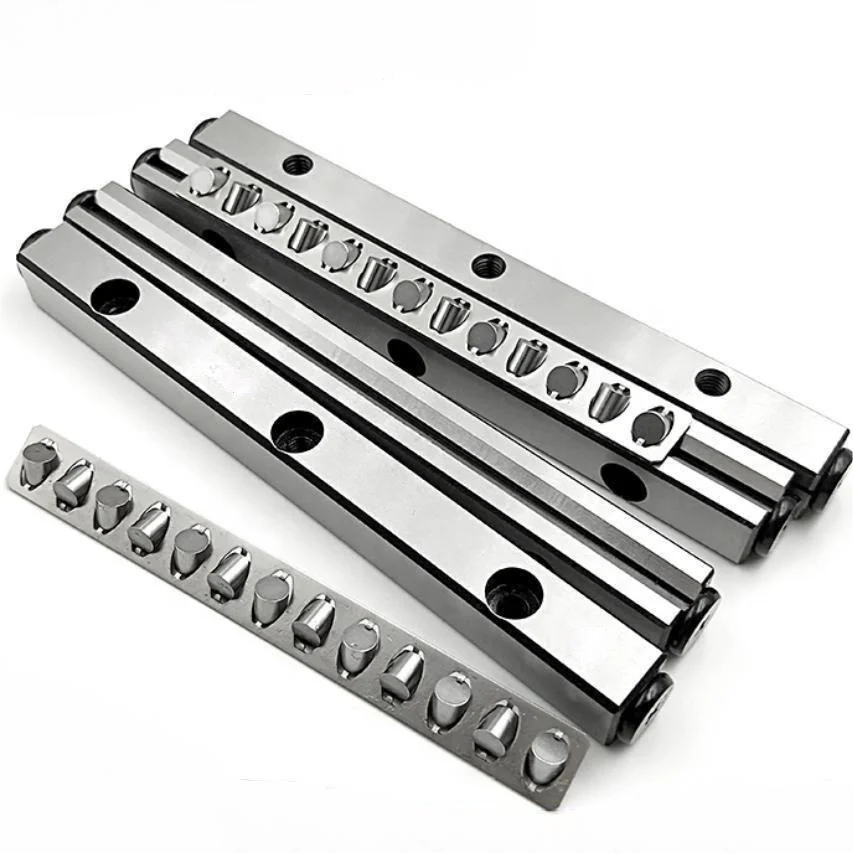
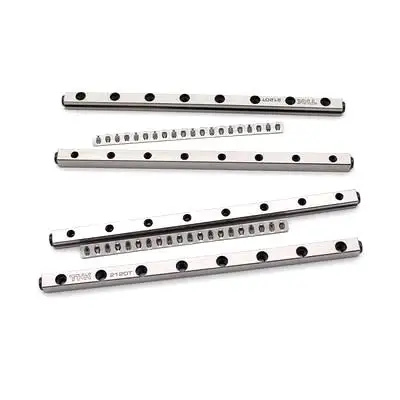
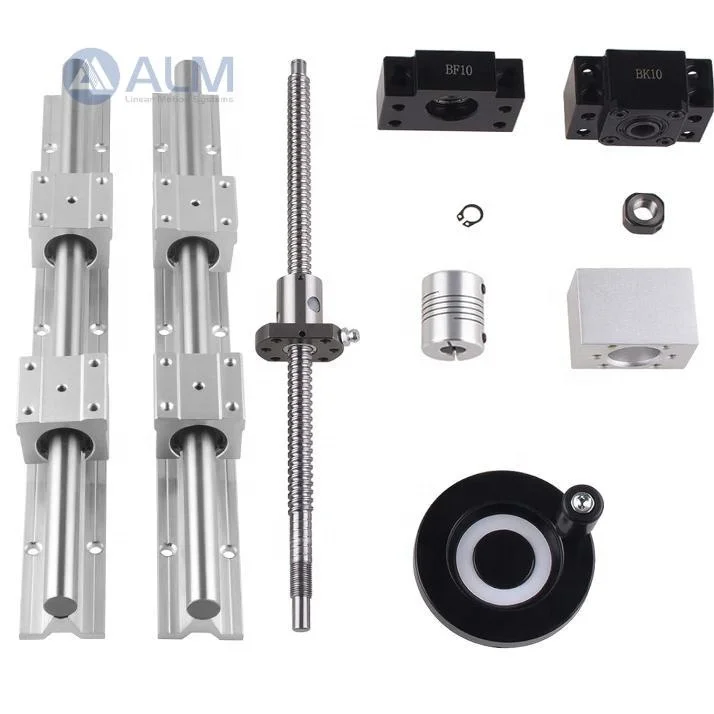
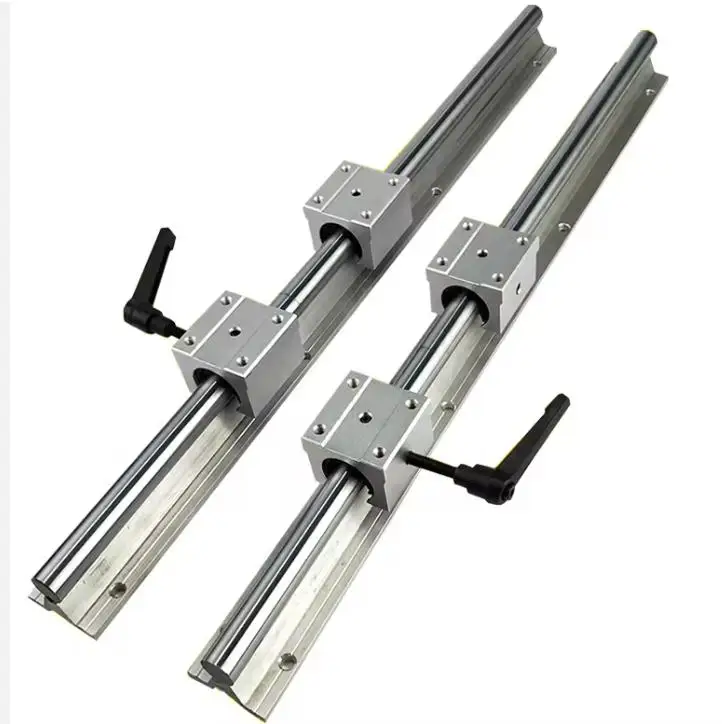
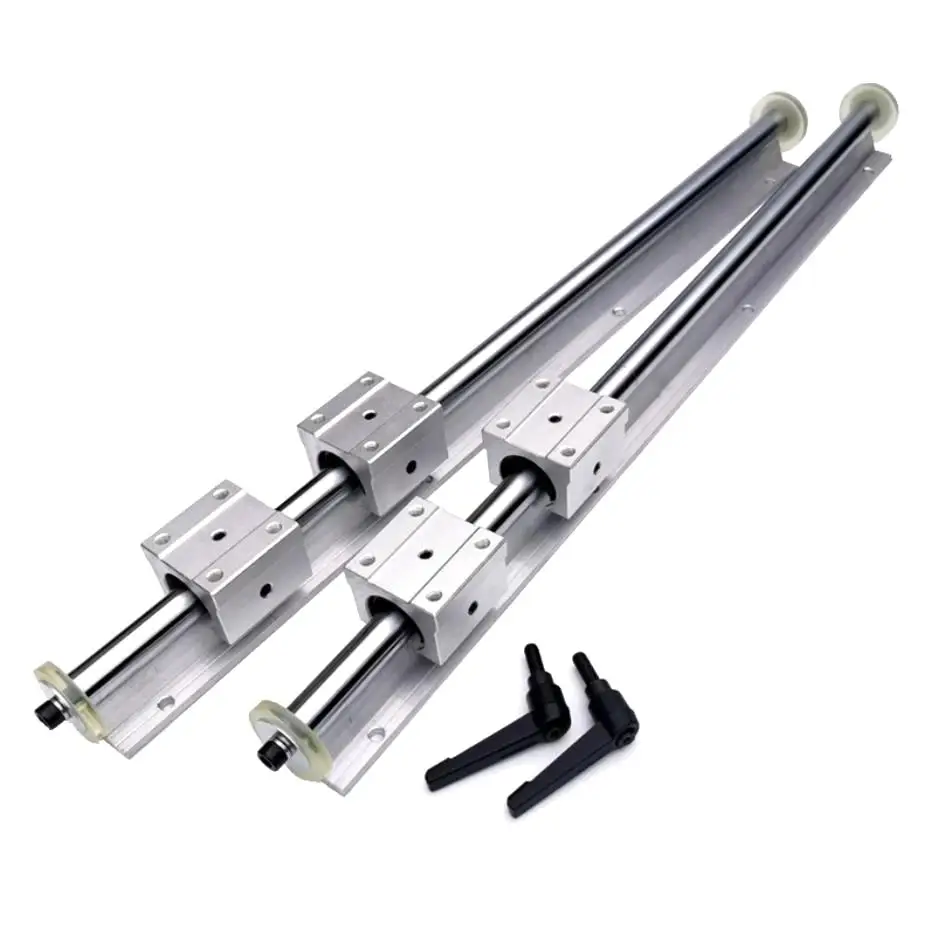
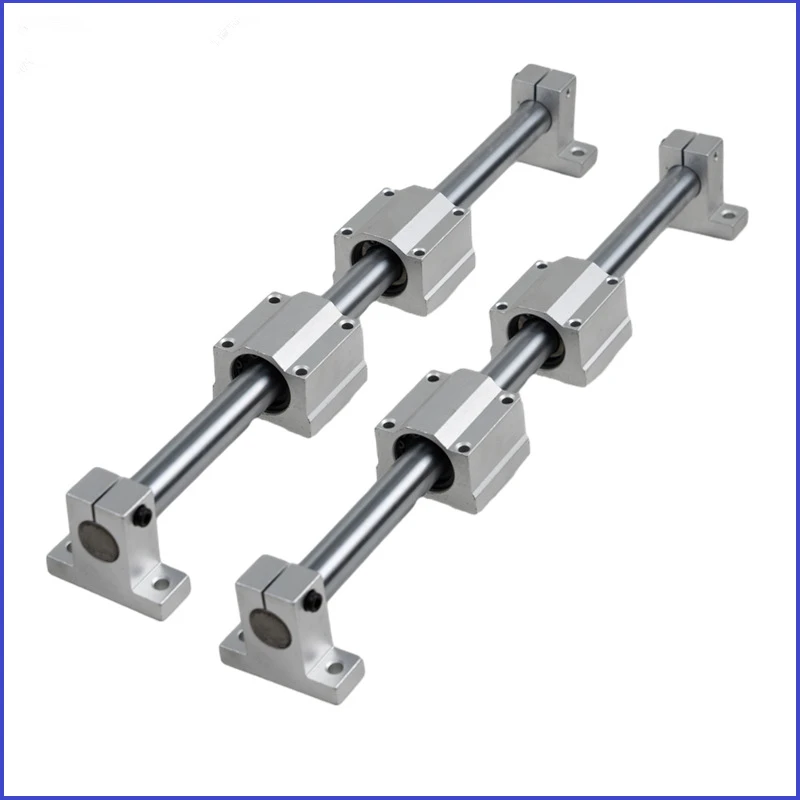
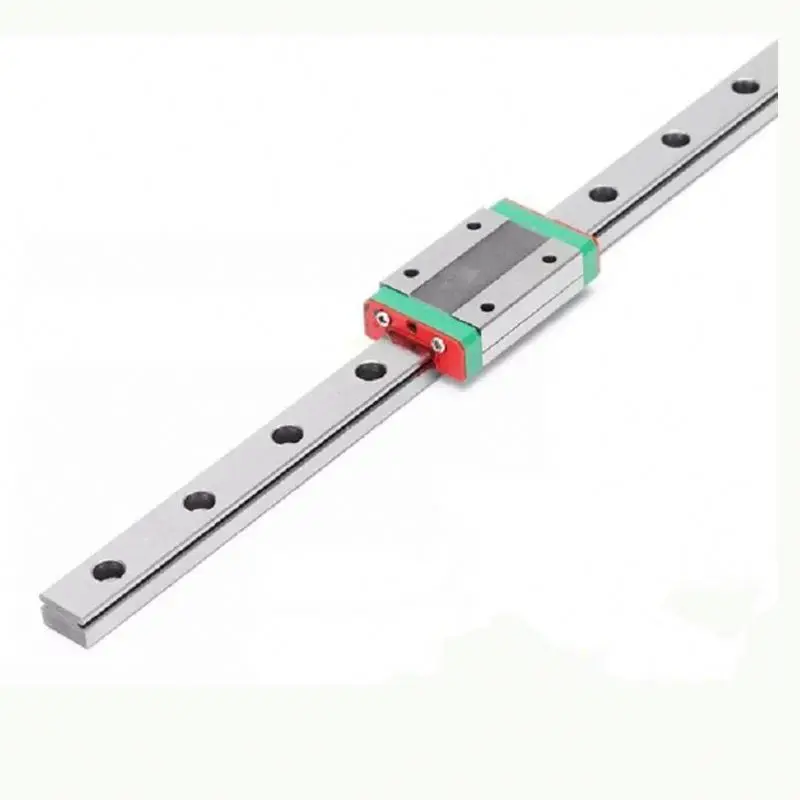
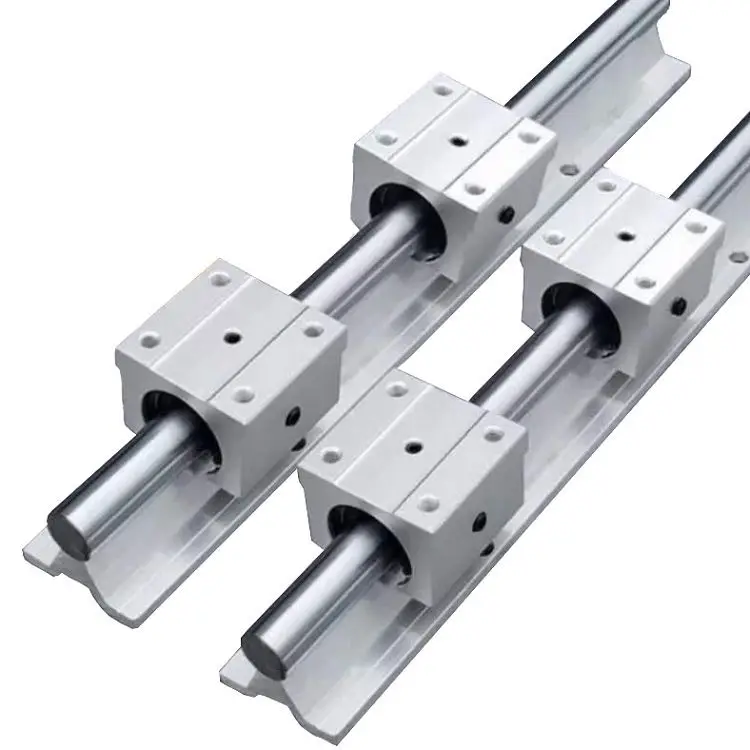
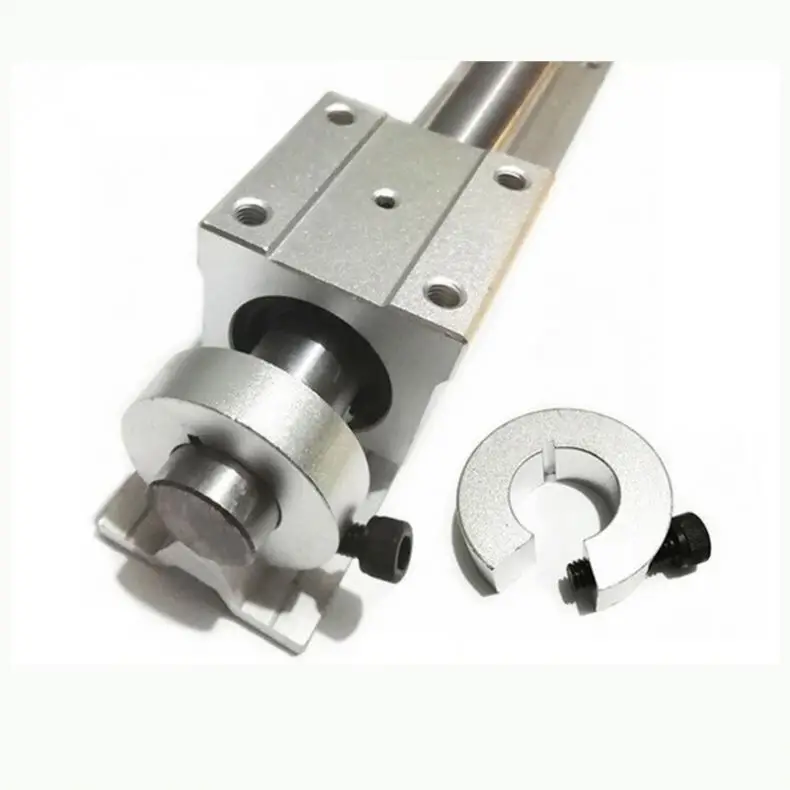
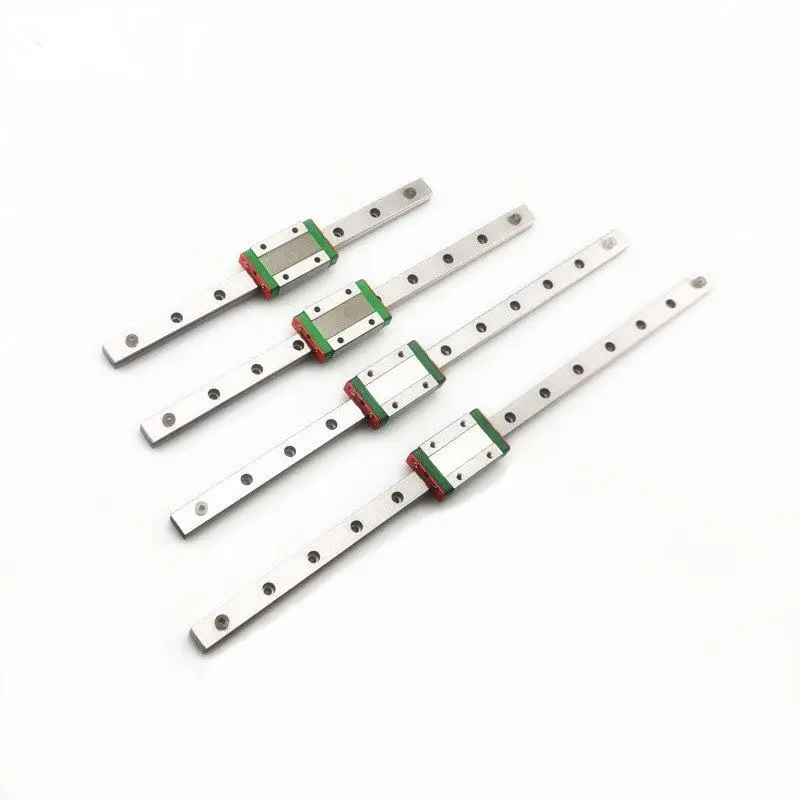
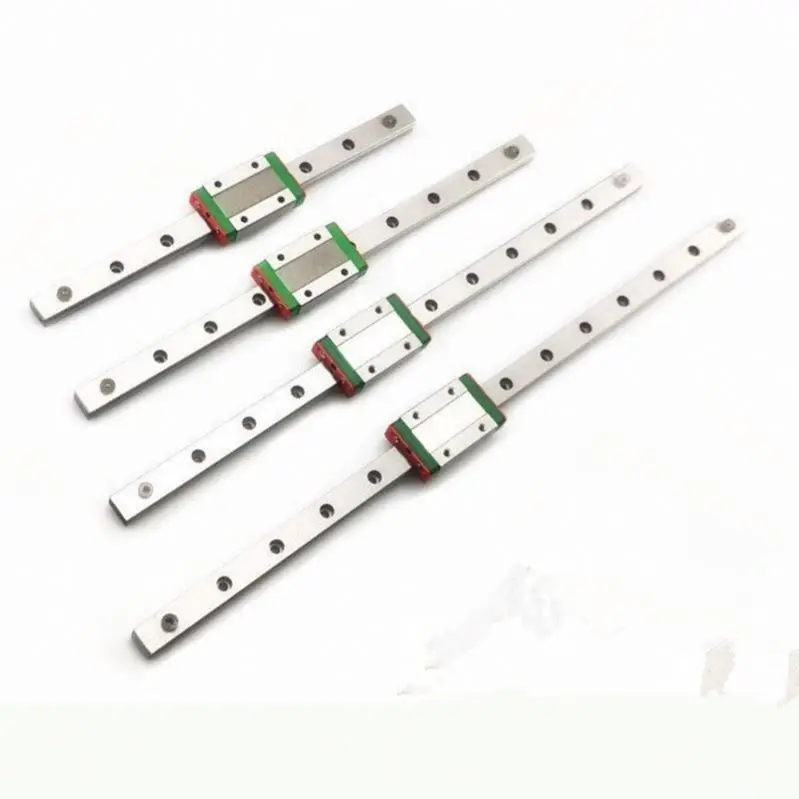
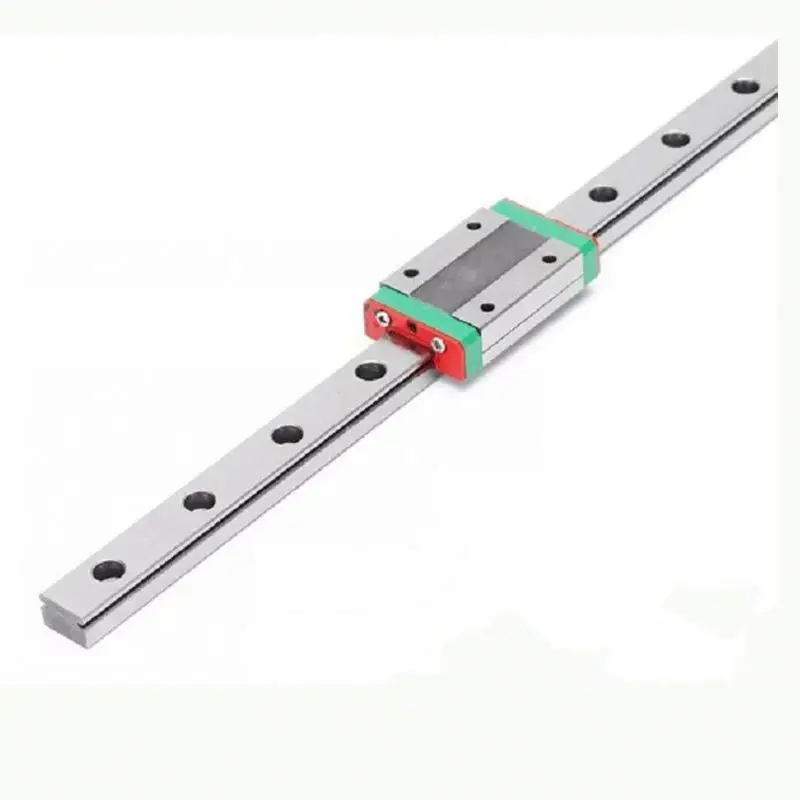
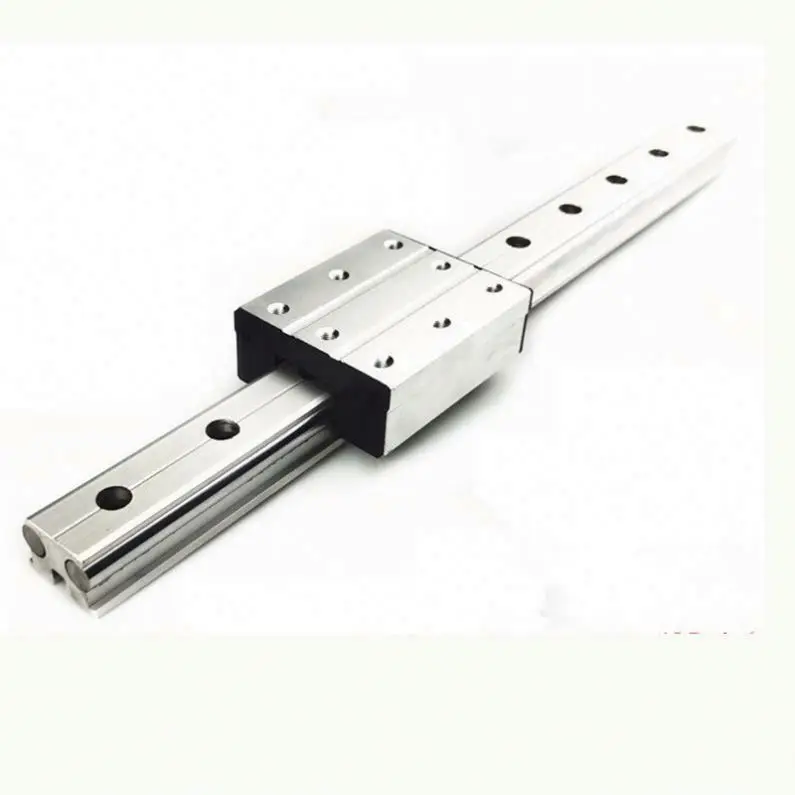
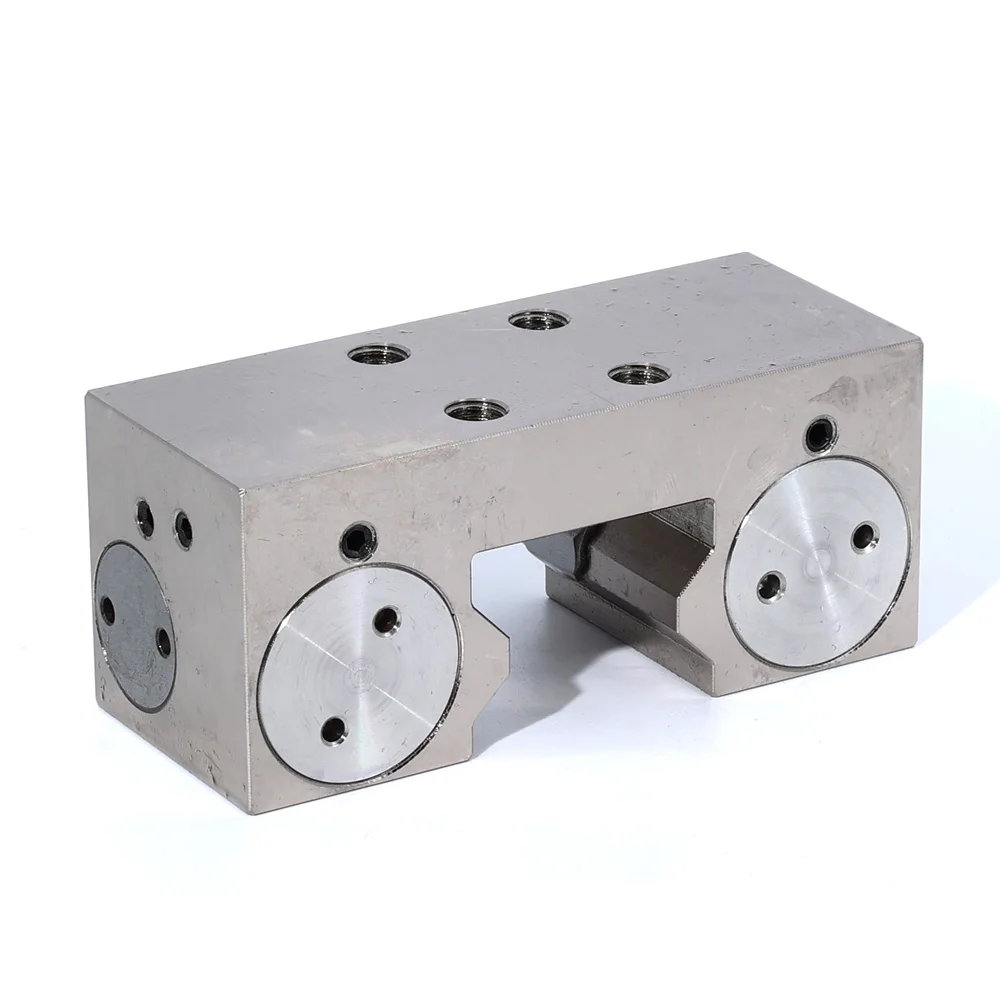
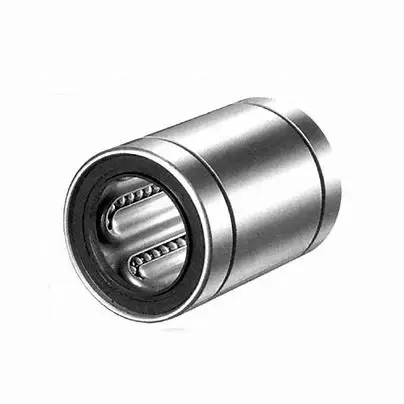
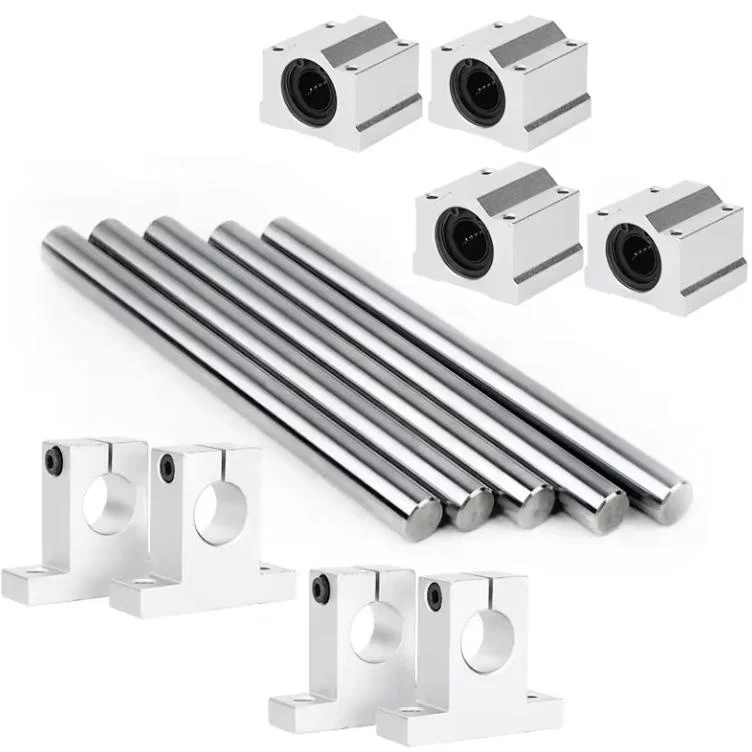
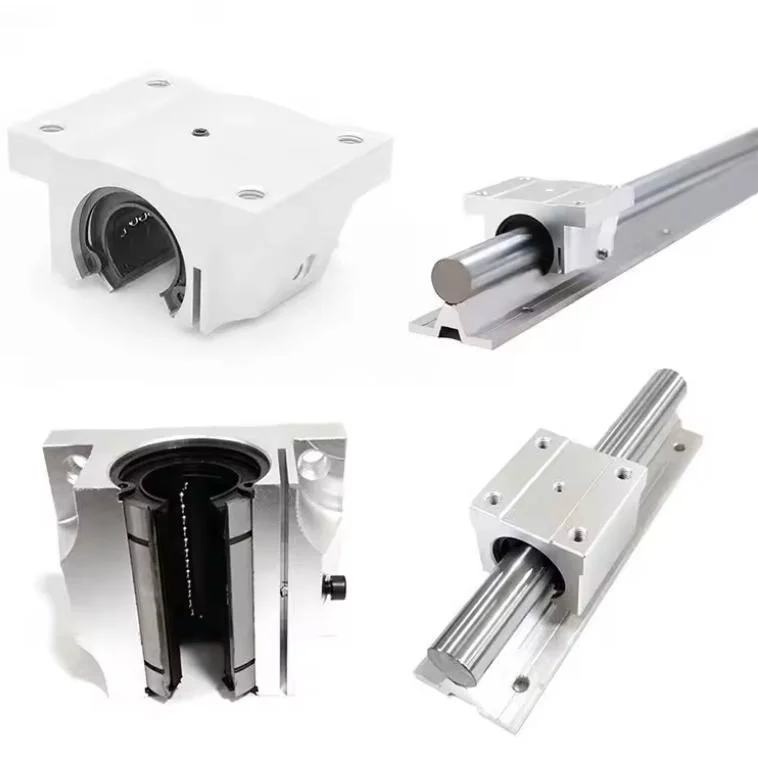
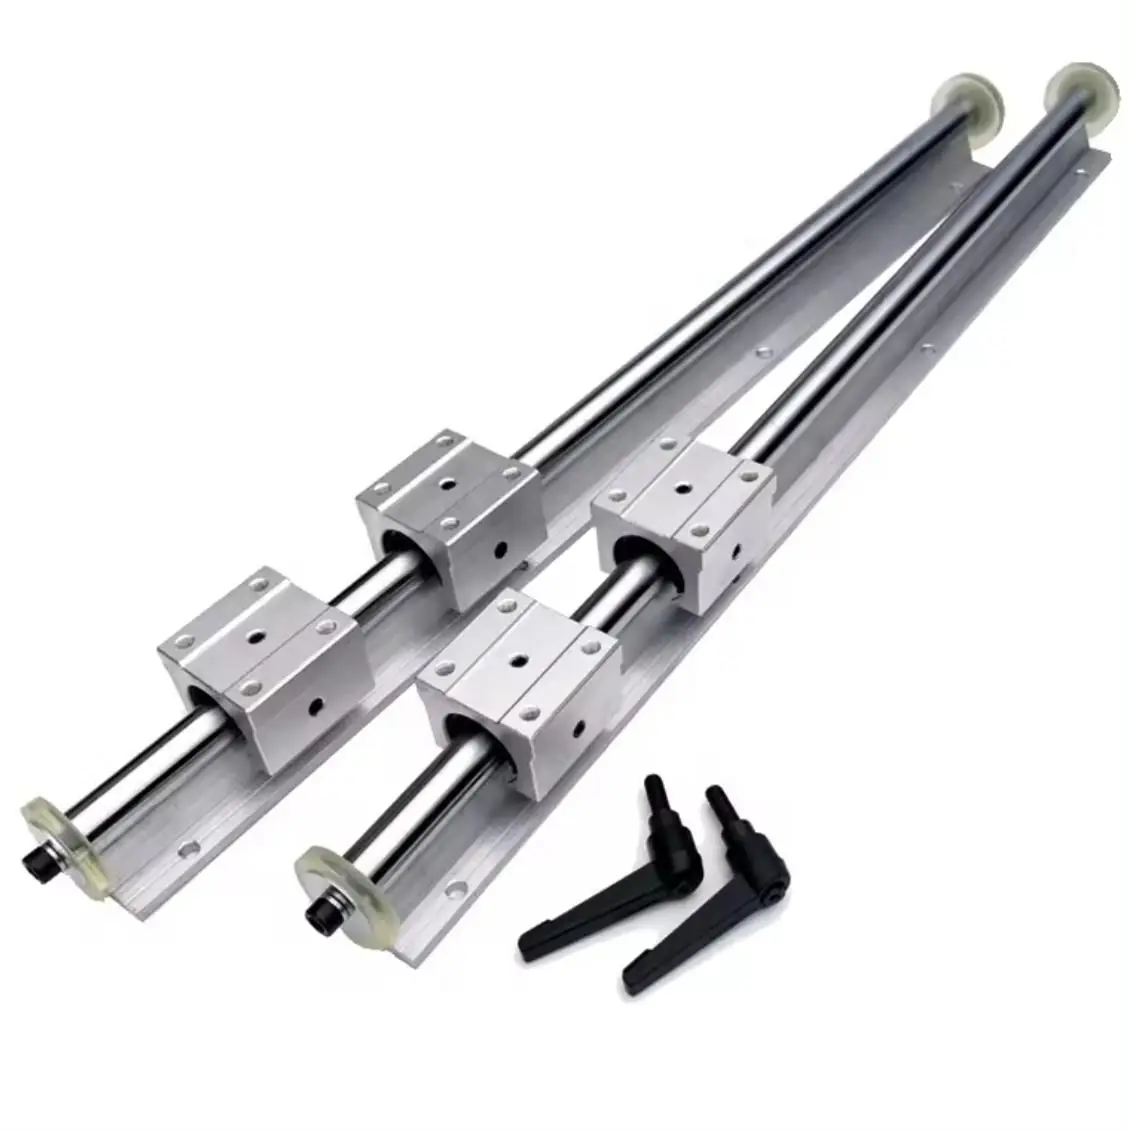
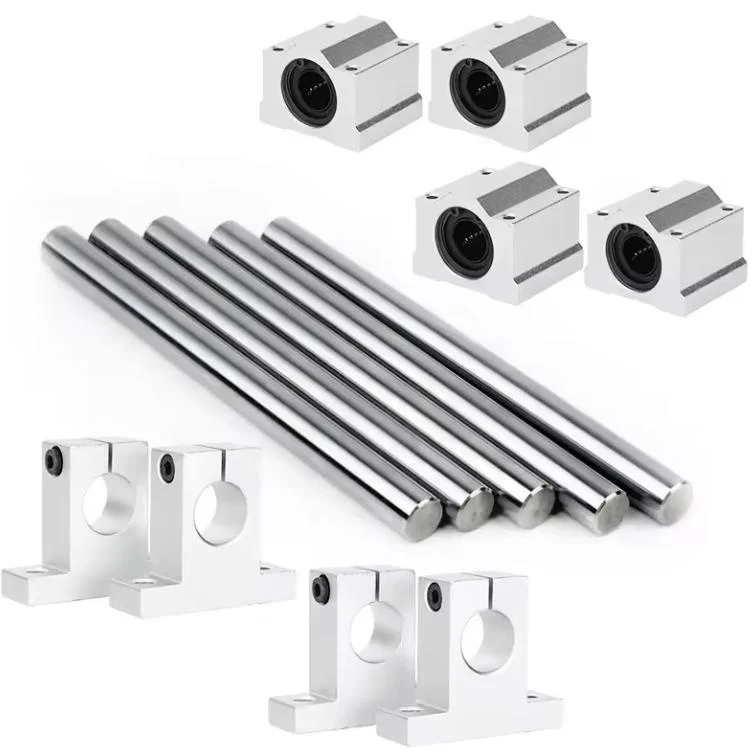
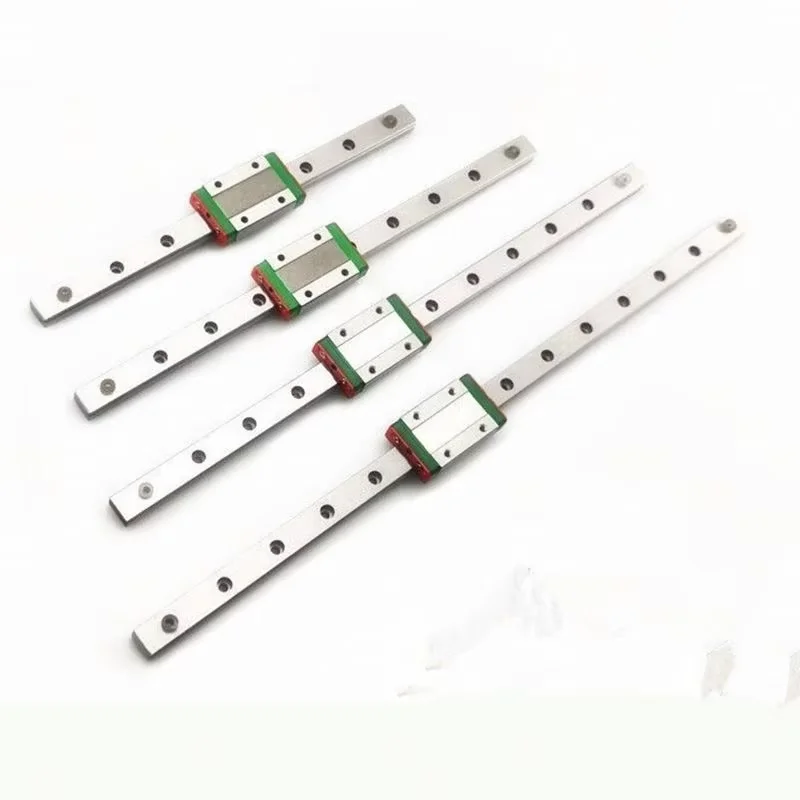
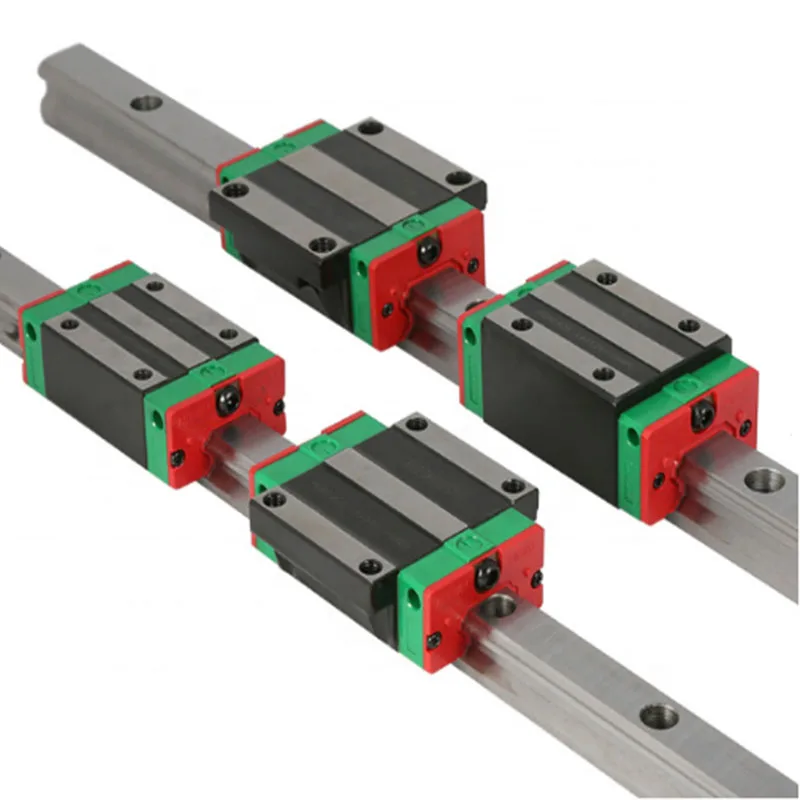
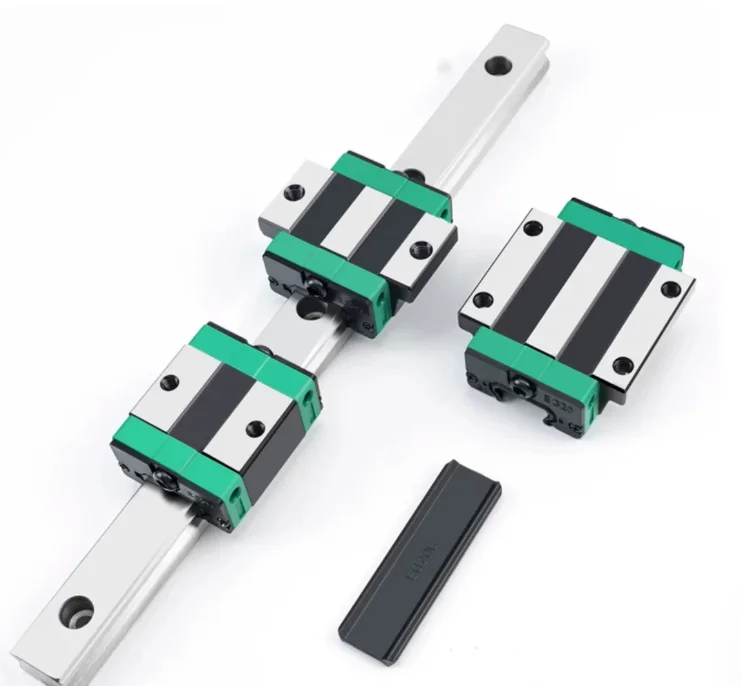
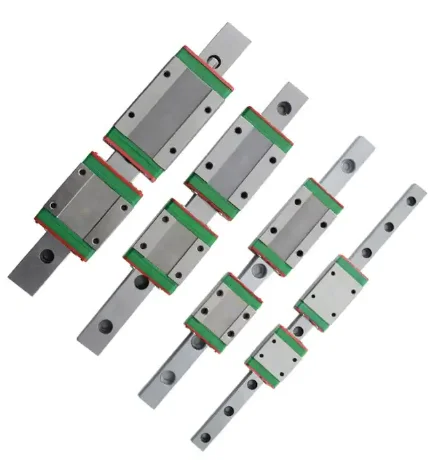
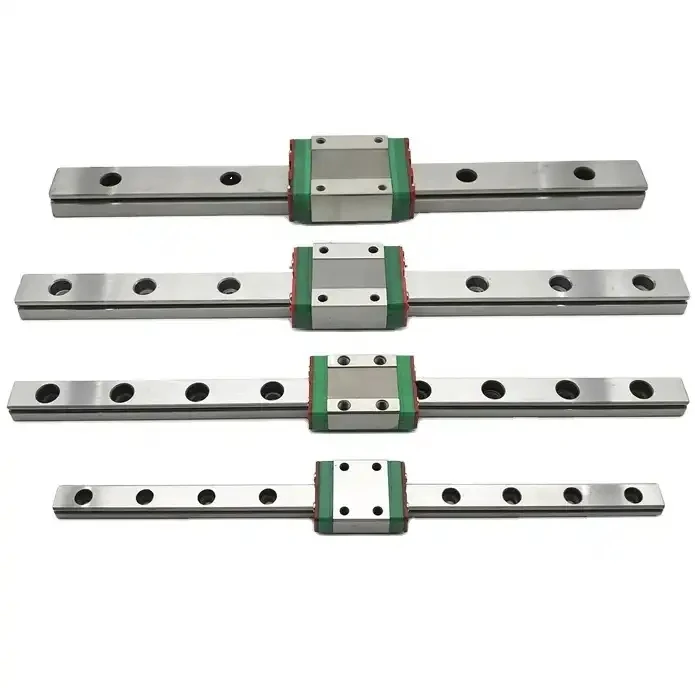
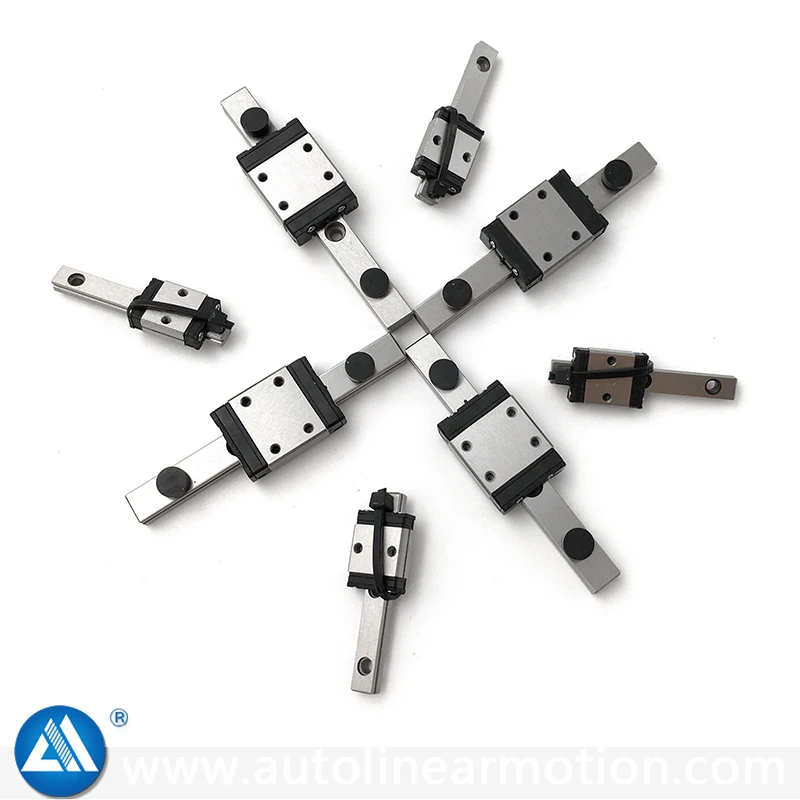
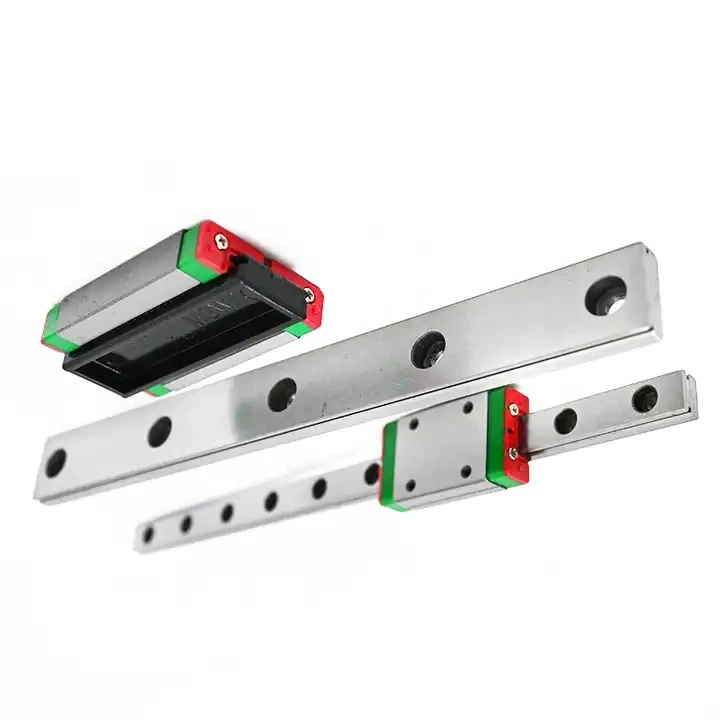
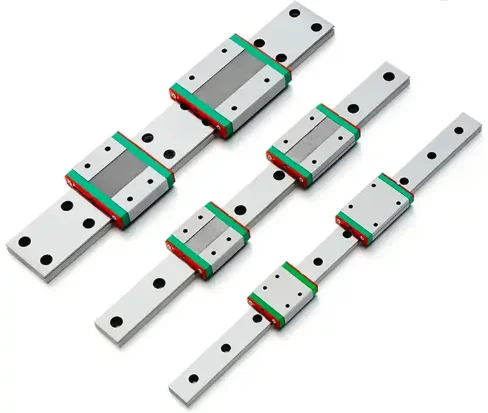
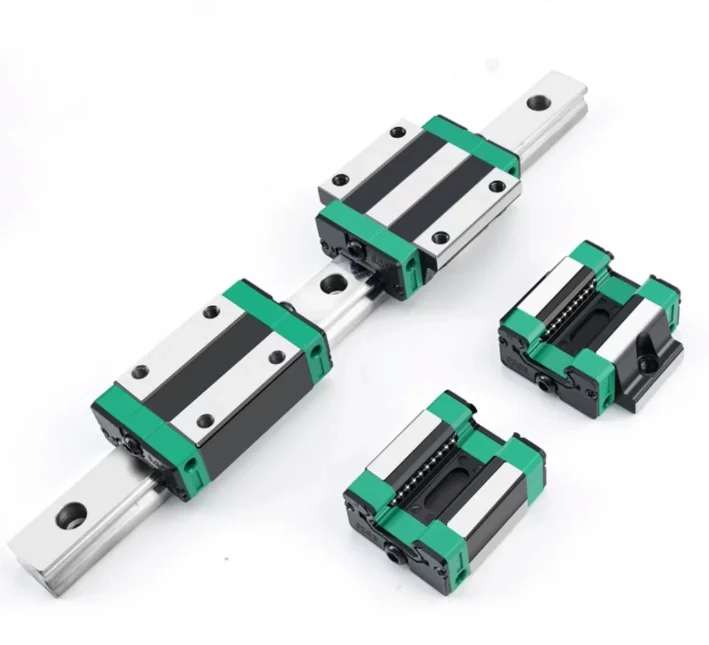
A linear guide is two hardened steel parts sliding on recirculating balls: a rail bolted to the machine bed, and a carriage that carries the load. Everything that matters about the pair is decided by three numbers — rail width, block type, and preload — and almost none of them appear in the title of a marketplace listing.
The three families in this catalogue
| Family | Models here | What it is for | What it is not for |
|---|---|---|---|
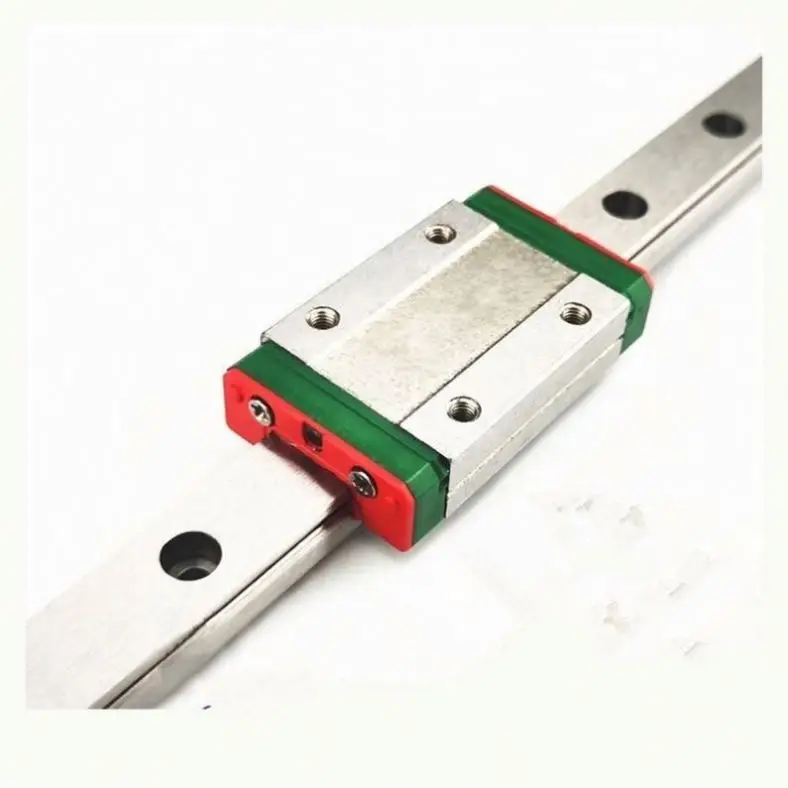
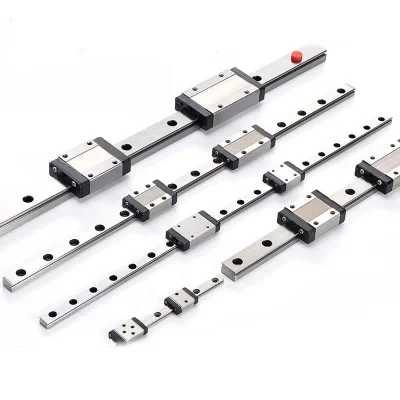
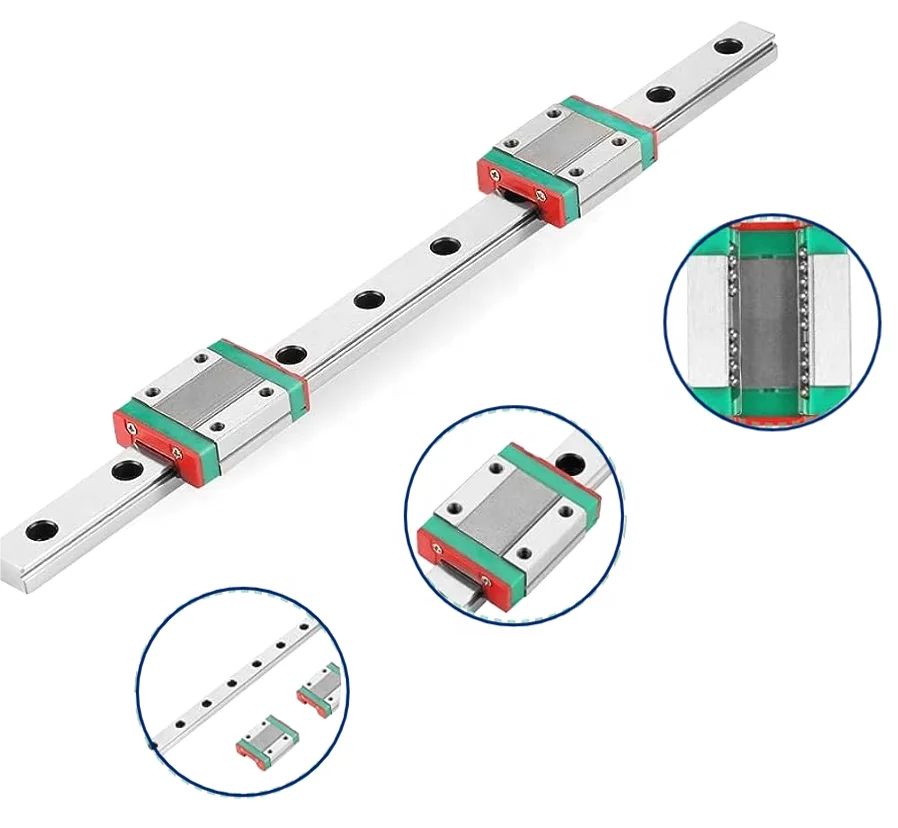
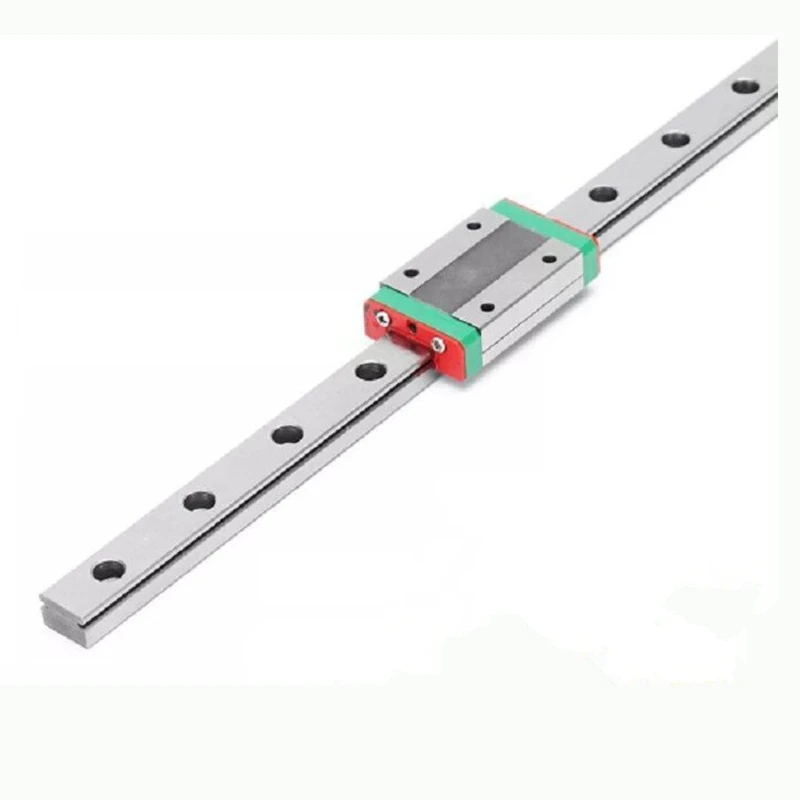
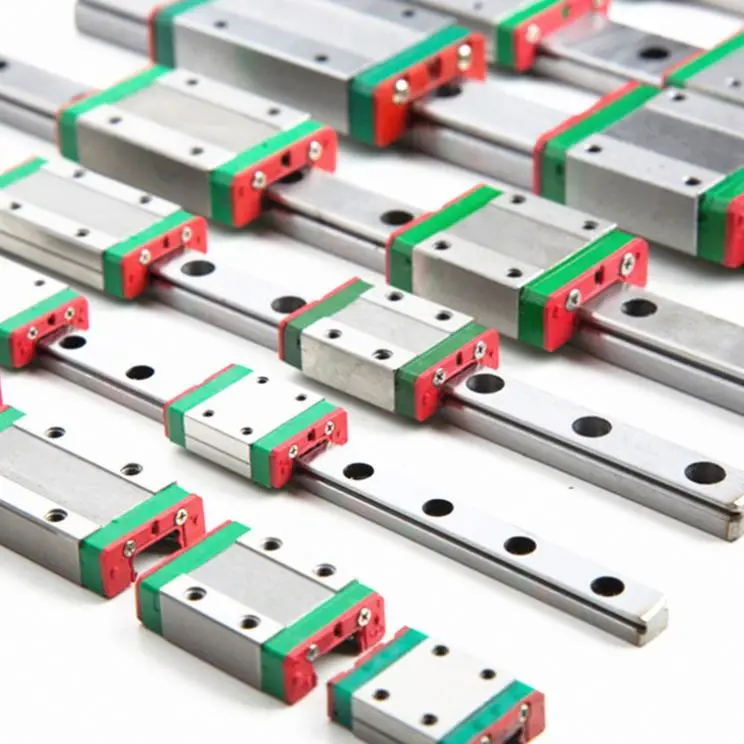
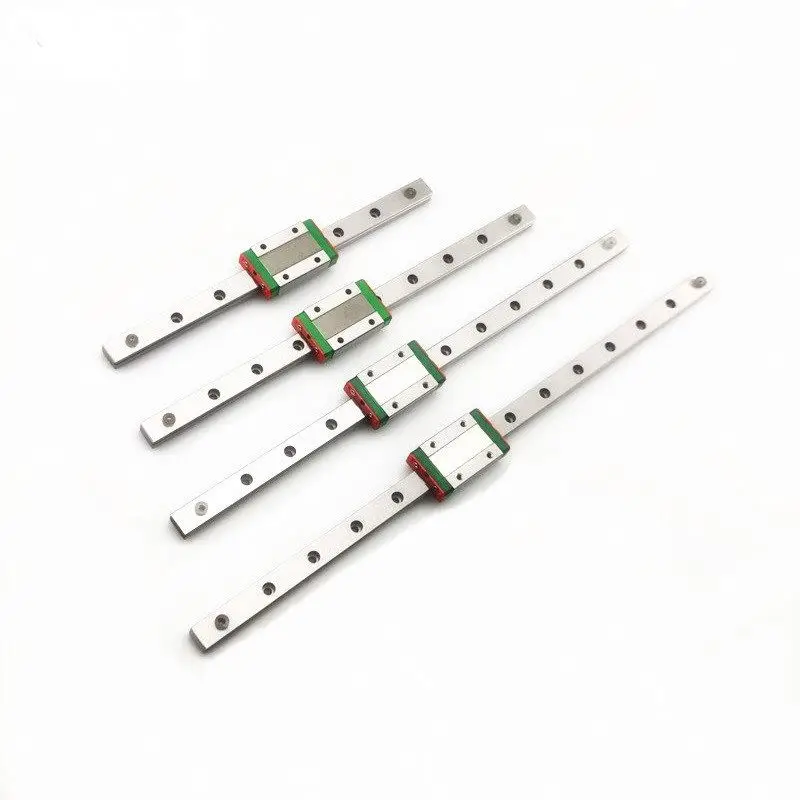
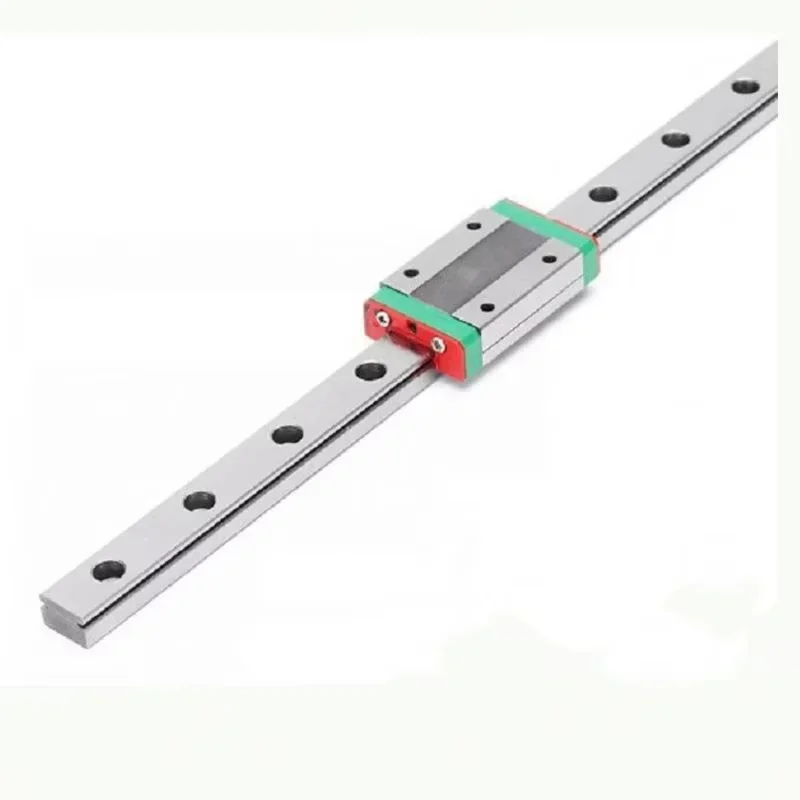
| MGN miniature | MGN7, MGN9, MGN12, MGN15 (C and H blocks) | Small axes: 3D printer gantries, dispensing heads, optical benches, lab fixtures | Anything with a cantilevered load or a machining force |
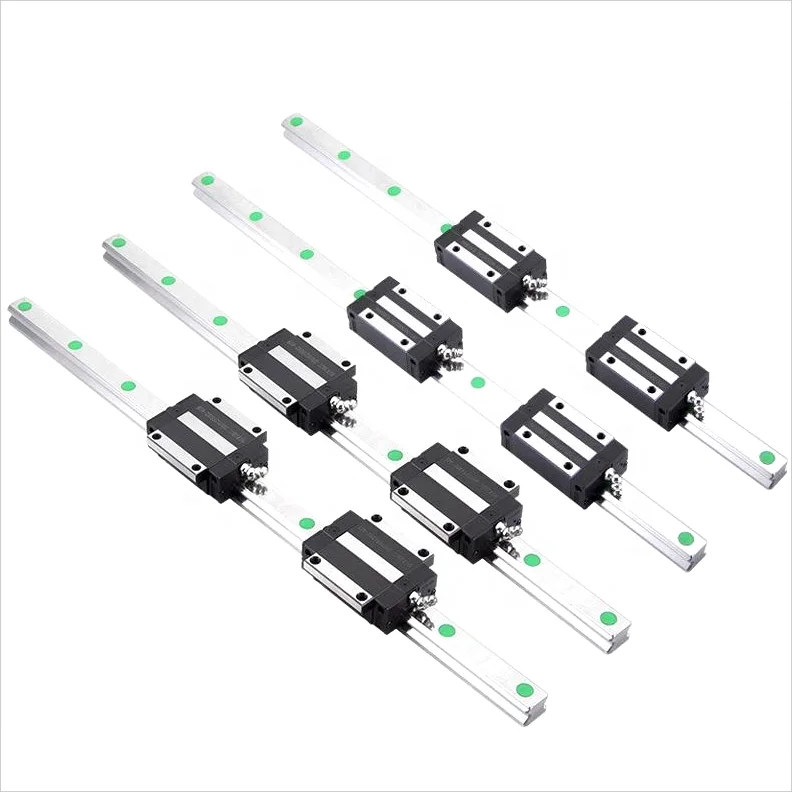
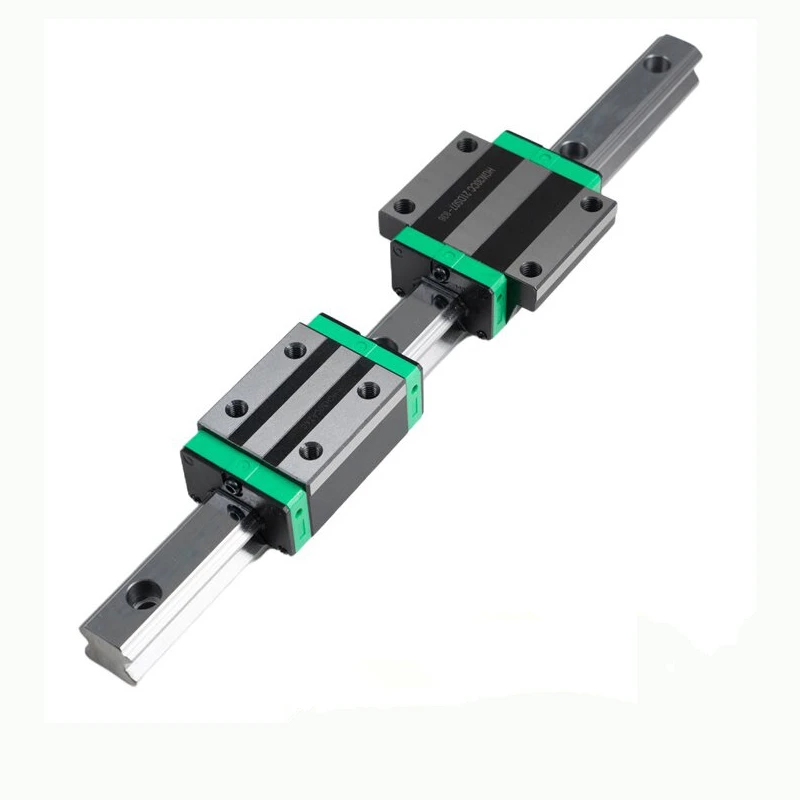
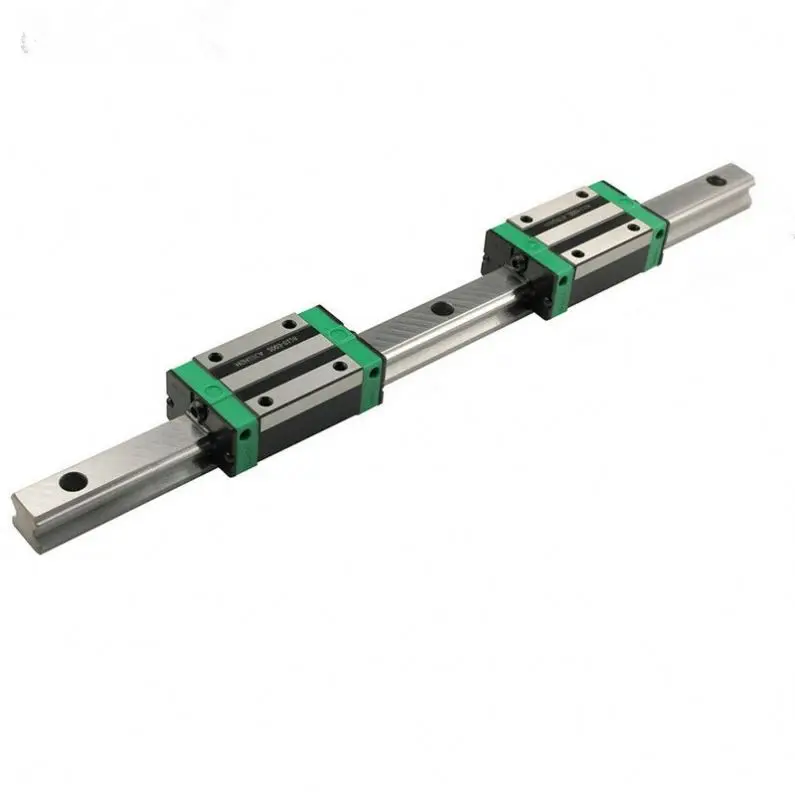
| HGR heavy | HGR15, HGR20, HGR25, HGR30 | Machine tool axes, gantries, anything that cuts metal | Light frames that cannot hold rail flatness |
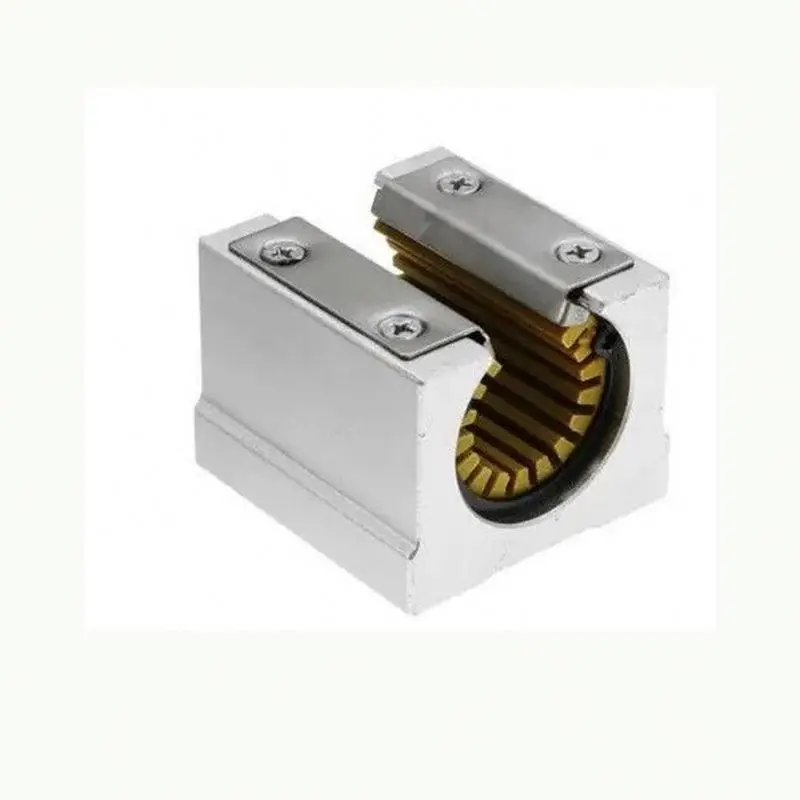
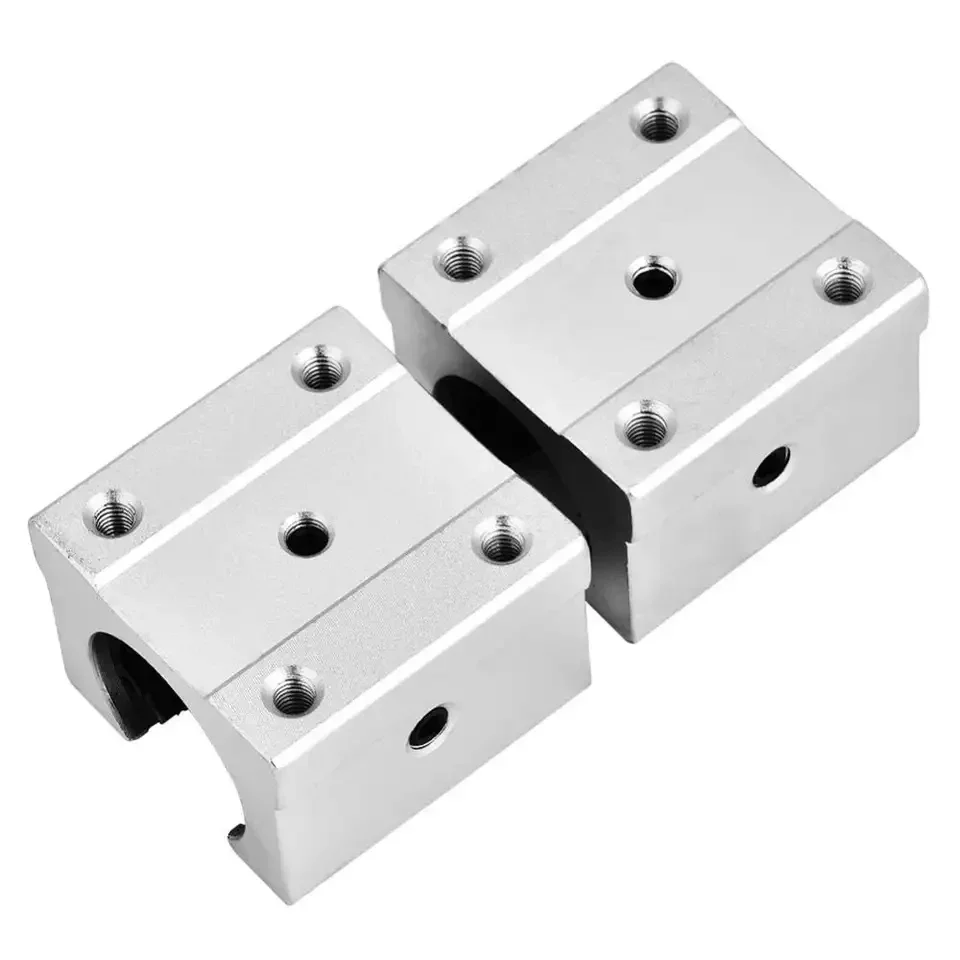
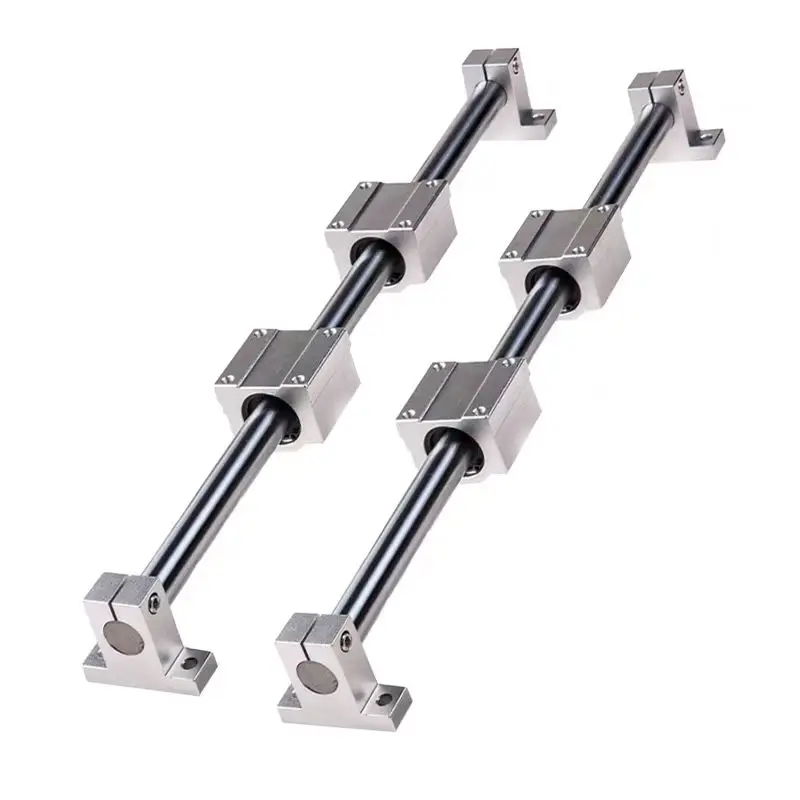
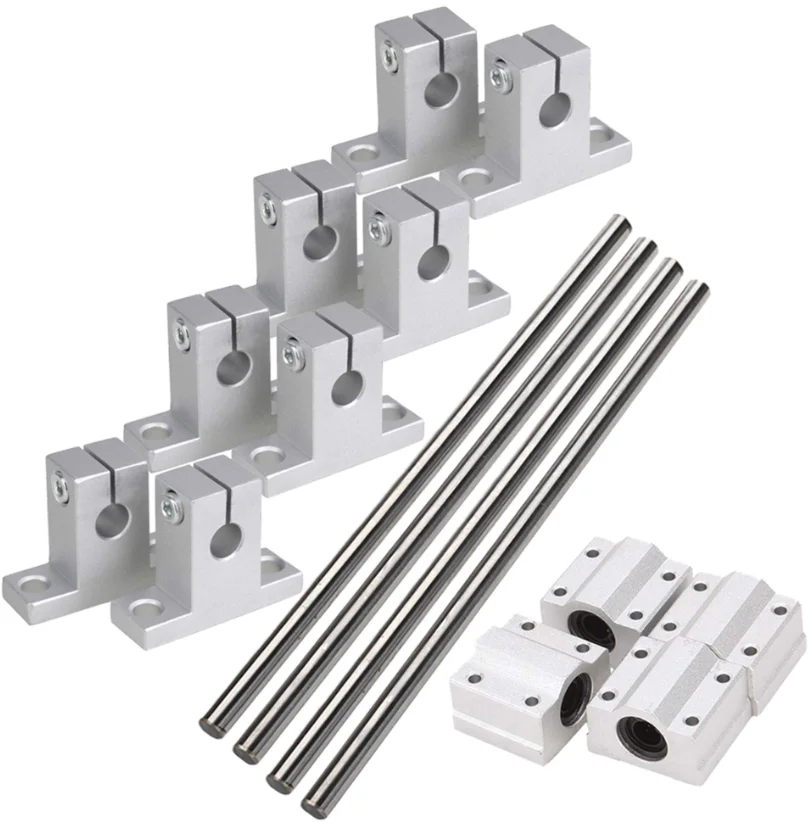
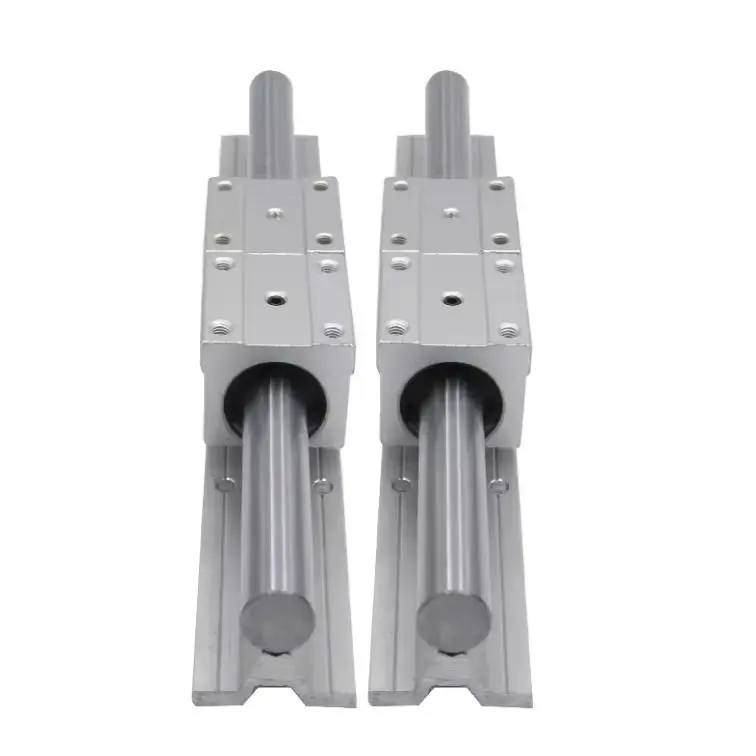
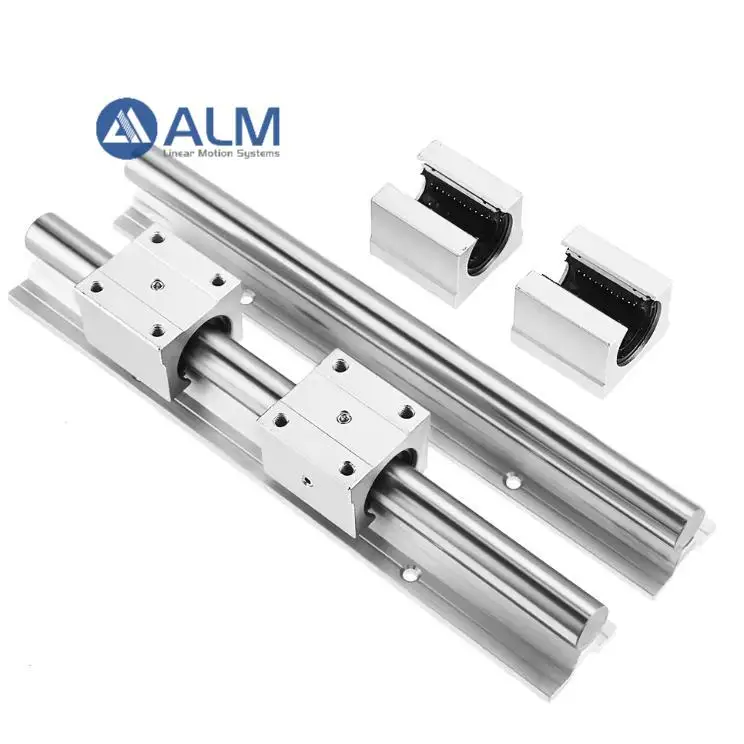
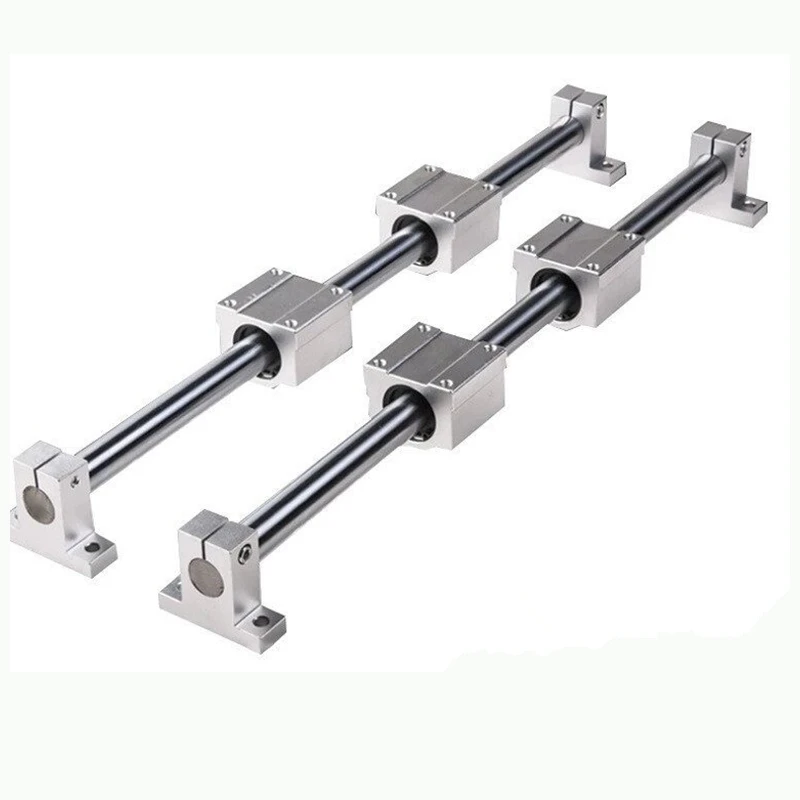
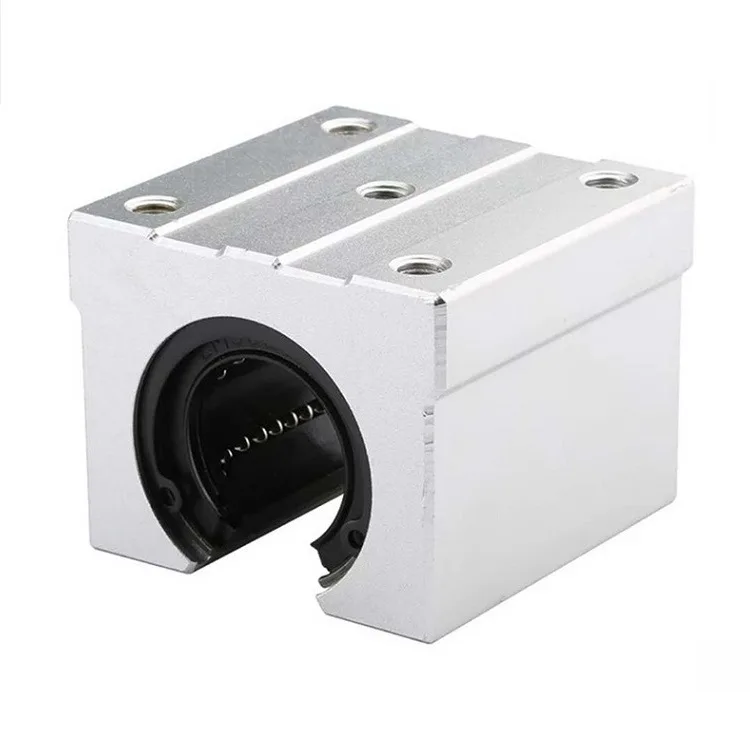
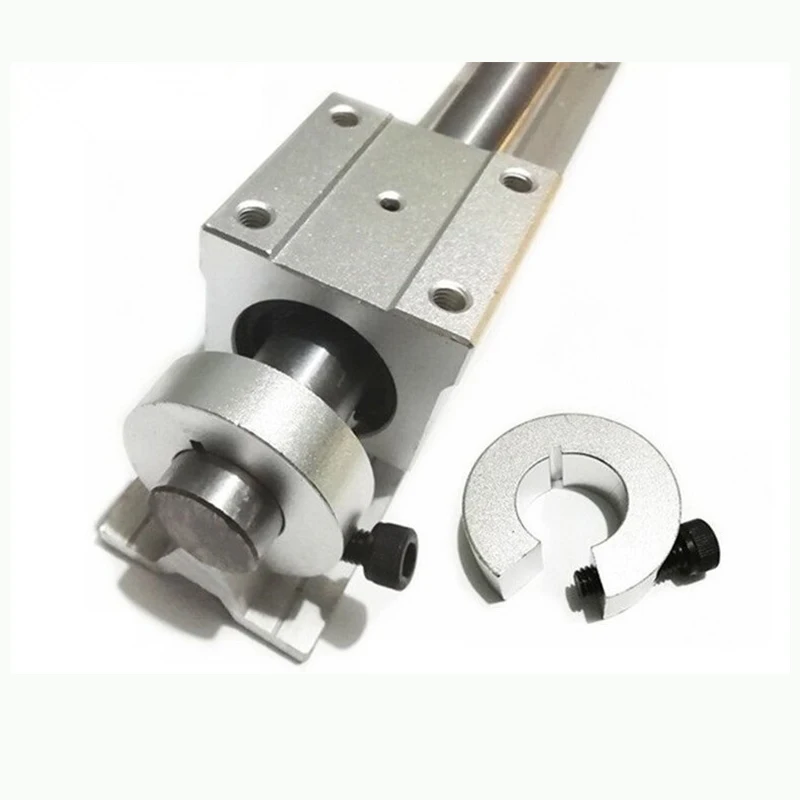
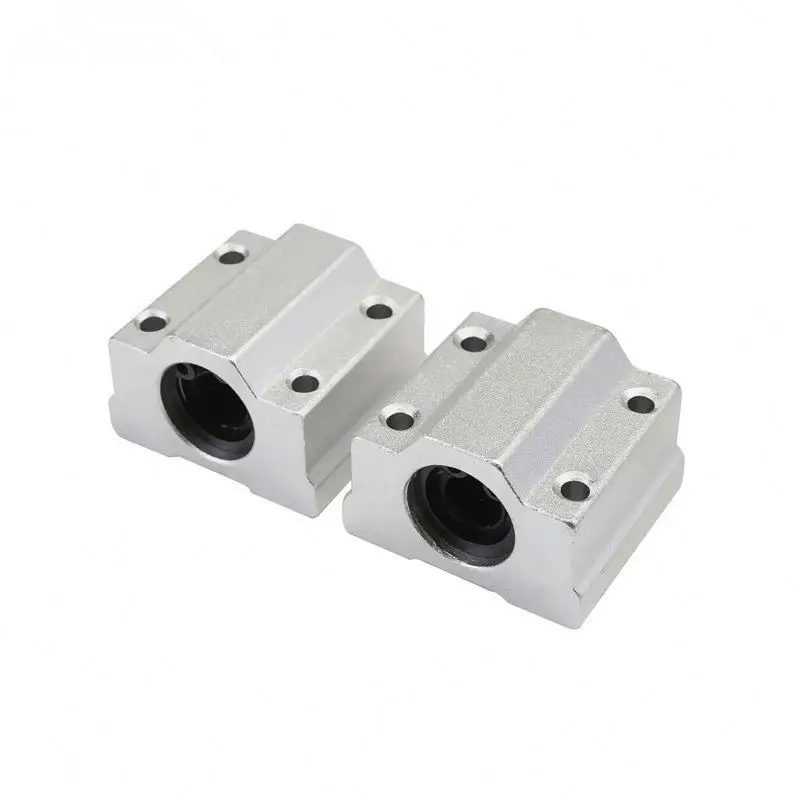
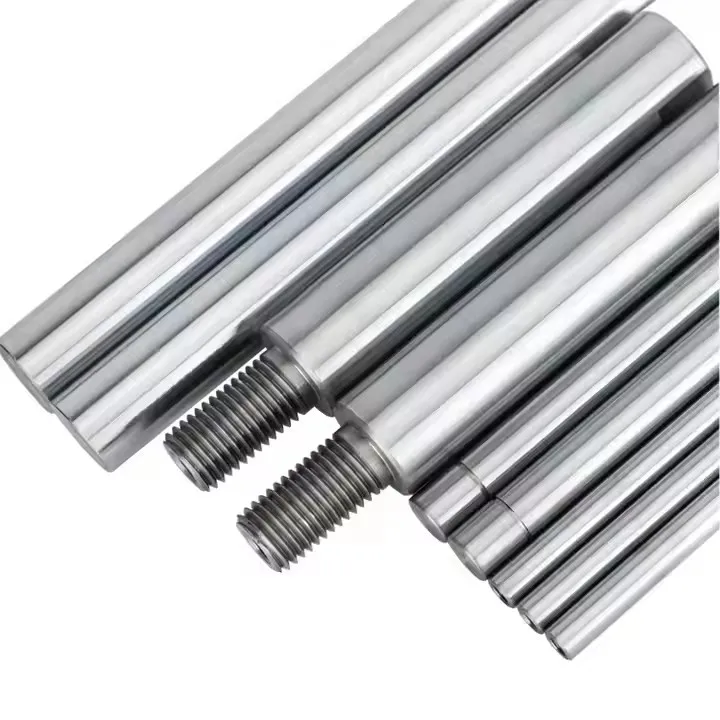
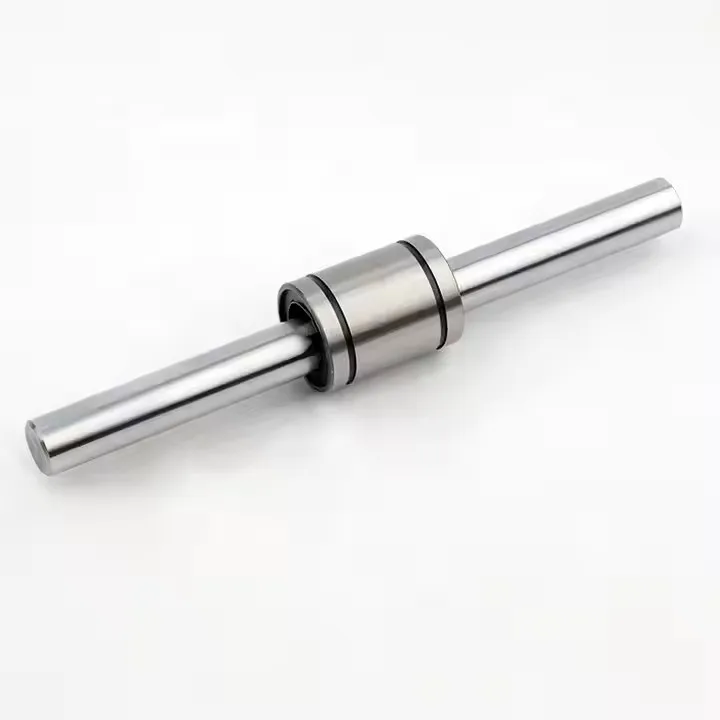
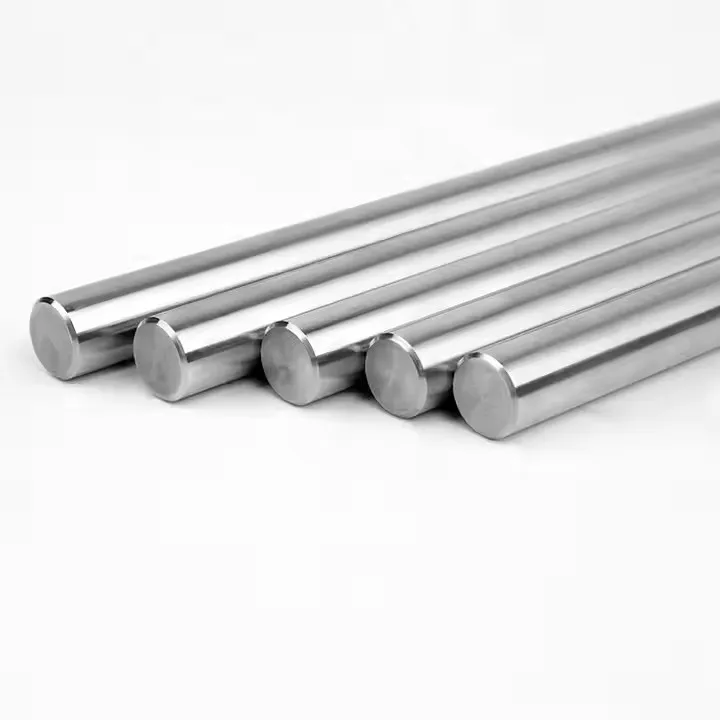
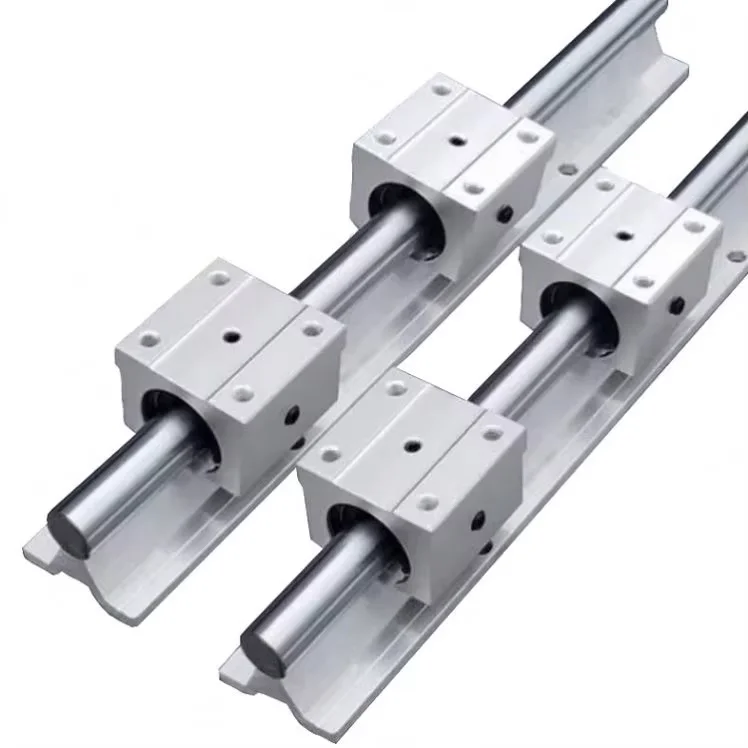
| SBR round shaft | SBR12, SBR16, SBR20 with UU blocks | Long travel on a budget, woodworking and router axes | High stiffness or high accuracy work |
C block or H block is not a preference
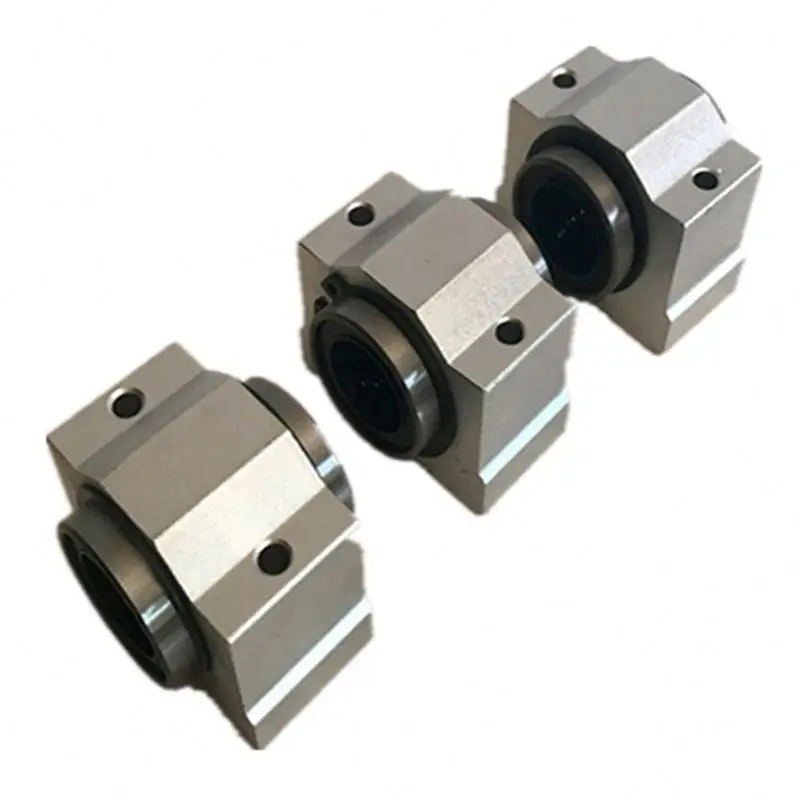
The letter after the size is the block height. A C block is the compact version; an H block is taller and gives a longer moment arm for the same mounting face. Confusing the two is the most common ordering error on this site, because the rail is identical and only the carriage differs. If your drawing dimensions the carriage centre height, the letter is already fixed. If you are designing the mount, choose H when the load sits high above the rail and C when vertical space is tight.
Preload: the number nobody publishes
Preload is the internal clearance the carriage runs at. A clearance block moves freely and rattles under reversing load. A preloaded block is stiff but drags and generates heat. Between them sit the standard clearance classes. On a listing, preload is almost always missing, which means you are buying whatever the factory set — usually light preload, which is fine for a printer and marginal for a machine that reverses direction under load.
If the axis has to hold a position against a cutting force, ask for the preload class in writing, and ask for the drag torque so you can check it with a spring scale when the parts arrive.
Mounting is where accuracy is lost
Two parallel rails only share load if they are parallel. The usual failure looks like this: the rails are bolted to a welded frame, the carriage runs free at one end and binds at the other, and the instinct is to blame the guide. The guide is fine. The frame has a twist of 0.05 mm across its length, and the carriages are fighting it.
The practical sequence that avoids this: machine or shim the mounting face flat first, bolt one rail and check straightness with a dial indicator on the carriage, then use that carriage as the reference to align the second rail, moving it until the indicator reads the same at both ends. Only after that should the drive be connected.
What to send with an enquiry
- Rail size (MGN12, HGR20, SBR16) and block letter (C or H)
- Rail length in millimetres, and the stroke you need — they are not the same number
- Number of carriages per rail and whether they run on one rail or two
- The load and where it sits relative to the rail: on top, cantilevered, or offset sideways
- Whether the axis is horizontal, vertical or inverted
Send those five and the answer stops being a catalogue lookup and becomes a selection.